Wand streichen mit Rand: so gelingt die saubere Farbkante!
Das Wand streichen mit Rand ist eine der einfachsten und wirkungsvollsten Möglichkeiten, einem Raum sofort neuen Charme zu verleihen. Doch für ein wirklich professionelles Ergebnis kommt es nicht nur auf die Wandfarbe an – saubere, präzise Kanten machen den Unterschied! Ob scharfe Farbübergänge, perfekt abgesetzte Kontraste oder makellose Linien entlang von Türen, Fenstern und Fußleisten – mit der richtigen Technik und den passenden Werkzeugen gelingt dir das mühelos. In diesem Artikel verraten wir dir die besten Tipps und Tricks, mit denen deine Wand mit Rand streichen kannst.
Das benötigst du für das Wand streichen mit Rand
- Wandfarbe (Grundfarbe + ggf. Randfarbe)
- Abdeckfolie oder Malervlies (zum Schutz des Bodens und der Möbel)
- Malerkrepp (Abklebeband) (für scharfe Farbkanten beim Rand)
- Grundierung (falls nötig, um eine gleichmäßige Farbaufnahme zu gewährleisten)
- Farbroller (für große Flächen)
- Pinsel (für Ecken, Kanten und den Rand)
- Farbwanne oder Eimer
- Rührstab (zum Umrühren der Wandfarbe)
- Wasser und Lappen (zum Reinigen kleiner Fehler oder Spritzer)
- Bleistift & Maßband oder Zollstock (zum Vorzeichnen des Randes)
- Wasserwaage oder Schablone (für gerade Linien)
So streichst du eine Wand mit Rand
Schritt 1: Bereite den Raum vor
Entferne alle Möbel aus dem Raum oder decke sie gut ab. Schütze den Boden mit Malervlies oder einer Abdeckfolie, damit keine Farbspritzer darauf landen. Steckdosen, Lichtschalter, Türrahmen, Fußleisten und Fensterrahmen sollten abgeklebt werden, um sie vor Farbspritzern zu schützen. Falls nötig, entferne alte Farbschichten oder trage eine Grundierung auf, damit der neue Anstrich gleichmäßig auf dem Untergrund haftet.
Schritt 2: Rand abkleben und anzeichnen
Vor dem Wand streichen mit Rand solltest du den Rand mit einem Maßband oder Zollstock in gewünschter Breite ausmessen und die Linien mit einem Bleistift anzeichnen. Dabei hilft dir auch eine Wasserwaage. Klebe dann Malerkrepp sauber und ordentlich entlang der Markierungen. Drücke das Klebeband mit einem flexiblen Spachtel gut fest.
Schritt 3: Rand überstreichen
Ein Profi-Trick für gestochen scharfe Farbkanten: Streiche zuerst kräftig mit weißer Farbe oder der Wandgrundfarbe über die Kanten des Kreppbands. Dadurch werden kleine Lücken im Klebeband versiegelt, sodass die Hauptfarbe später nicht unterläuft. Lasse diese Schicht gut trocknen – idealerweise über Nacht. Verwende für diesen Schritt einen Pinsel oder eine kleine Farbrolle.
Schritt 4: Wandfarbe streichen
Jetzt geht es an die große Fläche der Wand mit Rand. Tauche den Farbroller in die Farbe und beginne in der Mitte der Wand. Rolle die Farbe gleichmäßig nach außen und arbeite dabei in überlappenden Bahnen. Streiche Ecken und Kanten mit einem Pinsel nach. Falls nötig, trage eine zweite Schicht auf, sobald die erste getrocknet ist, um ein gleichmäßiges, streifenfreies Ergebnis zu erzielen.
Schritt 5: Klebeband entfernen
Ziehe das Malerkrepp an der
Wand mit Rand vorsichtig ab, solange die Farbe noch leicht feucht ist. So
verhinderst du, dass der Anstrich einreißt oder unsaubere Farbkanten entstehen.
Falls dennoch kleine Unregelmäßigkeiten auftreten, kannst du diese mit einem
feinen Pinsel nachbessern.
Schritt 6: Wand mit Rand nachbessern und Werkzeuge reinigen
Überprüfe das Ergebnis und korrigiere eventuelle Unebenheiten mit einem kleinen Pinsel. Reinige anschließend deine Pinsel, Farbroller und Farbwanne mit Wasser oder dem passenden Reinigungsmittel, je nach Farbtyp.
Wand streichen mit Rand: wie breit sollte der Rand sein?
Die Breite des Randes beim
Streichen einer Wand hängt von deinem gewünschten Look und der Raumwirkung ab:
- Dezent und elegant
- Besonders geeignet für eine feine Akzentuierung oder als Rahmen für Türen, Fenster oder Bilder
- Gut für kleine Räume, da sie nicht erdrückend wirken
- Setzt einen klareren Kontrast zur Hauptfarbe
- Gut geeignet, um eine optische Trennung zwischen Wand und Decke herzustellen
- Ideal für moderne und minimalistische Designs
3. Breite Ränder (15–30 cm oder mehr)
- Sehr auffällig und dekorativ
- Gut für große Wände oder hohe Räume
- Kann dazu genutzt werden, eine Wand optisch kleiner oder strukturierter wirken zu lassen
Tipp zur Gestaltung:
- Ein schmaler Rand wirkt subtil und stilvoll, während ein breiter Rand die Wand als Kunstwerk hervorheben kann.
- Teste verschiedene Breiten mit Kreppband, bevor du die Wand mit Rand streichst, um die beste Wirkung für den Raum zu finden.
Wand streichen mit Rand: Profi-Tipps für ein makelloses Ergebnis
Ob weiß oder farbig – mit der richtigen Technik kann jeder Heimwerker eine Wand mit Rand professionell streichen. Doch Streifen, ungleichmäßige Farbaufträge oder unsaubere Farbkanten können das Endergebnis trüben. Damit dein Anstrich perfekt gelingt, solltest du diese bewährten Methoden und Tricks beachten.
1. Streifenfreier Farbauftrag: Nass-in-Nass-Technik nutzen
Für ein gründliches, streifenfreies Ergebnis solltest du stets in leicht überlappenden Bahnen streichen. Diese „nass-in-nass“-Methode sorgt dafür, dass sich die Farbe an deiner Wand mit Rand besser verbindet und keine sichtbaren Übergänge entstehen. Arbeite zügig, besonders bei großen Flächen – wenn die gestrichene Wandfarbe in einzelnen Bahnen bereits trocknet, bevor du weitermachst, können unschöne Übergänge sichtbar bleiben.
2. Effizient arbeiten: Mit einer zweiten Person streichen
Wenn du größere Flächen streichst, ist Teamarbeit von Vorteil. Eine Person kann die Ränder mit dem Pinsel vormalen, während die andere die Hauptfläche mit der Rolle bearbeitet. Teile die Wand in Abschnitte ein und streiche diese systematisch. Beginne mit drei bis vier senkrechten Bahnen und verteile die Farbe danach gleichmäßig in kreuzförmigen Bewegungen. Zum Abschluss noch einmal von oben nach unten rollen – ohne neue Farbe aufzunehmen. So erreichst du für deine Wand mit Rand ein sauberes Finish ohne Flecken.
3. Farbnasen verhindern: Überschüssige Farbe abstreifen
Zu viel Farbe auf Pinsel oder Farbrolle führt zu unschönen Farbnasen und Tropfen, kann verlaufen und unschöne Flecken hinterlassen. Tauche das Werkzeug nur leicht in die Farbe und streiche überschüssige Wandfarbe gründlich an einem Malergitter oder in der Farbwanne ab. So erreichst du für deine Wand mit Rand eine kontrollierte Farbverteilung und verhinderst unsaubere Stellen.
4. Farbige Wände mit exakten Übergängen gestalten
Wenn zwei aneinandergrenzende
Wände unterschiedliche Farben erhalten sollen, ist ein sauberer Übergang
entscheidend. Streiche zuerst die eine Wand und lasse die Wandfarbe vollständig
trocknen. Klebe dann den Übergang mit Malerkrepp ab und versiegle die Kante des
Klebebands mit der ersten Wandfarbe, um Unterlaufen zu verhindern. Nach dem
Trocknen kannst du die zweite Wand streichen und das Kreppband noch leicht
feucht abziehen.
5. Die richtige Trocknung der Wand mit Rand beachten
Ein frischer Anstrich braucht Zeit zum Trocknen – ungeduldiges Überstreichen kann zu ungleichmäßigen Ergebnissen führen. Falls die Wand mti Rand nach dem ersten Anstrich noch fleckig und uneben wirkt, warte, bis die Farbe vollständig durchgetrocknet ist. Oft verschwinden ungleichmäßige Stellen von selbst. Sollte ein zweiter Anstrich nötig sein, streiche erst nach kompletter Trocknung erneut.
6. Klebeband zur richtigen Zeit entfernen
Du solltest das Kreppband abziehen, solange die gestrichene Farbe noch leicht feucht ist. So verhinderst du, dass getrocknete Farbe einreißt oder unsaubere Farbkanten entstehen. Falls du das Abklebeband später nach dem Trocknen entfernst, kannst du mit einem scharfen Cutter vorsichtig und sorgfältig an der Kante entlangschneiden, um unschöne Risse zu vermeiden.
7. Farbauftrag optimieren: Licht und Belüftung nutzen
Arbeite immer in Richtung des
natürlichen Lichteinfalls, um Schattenwürfe zu vermeiden, die deine Sicht auf
das Streichergebnis beeinträchtigen könnten. Öffne während des Trocknens
Fenster und Türen, um für eine gute Luftzirkulation zu sorgen – aber vermeide
zu kaltes oder feuchtes Wetter, da dies den Trocknungsprozess verzögern kann.
Welche Wirkung hat eine Wand mit Rand?
Eine Wand mit Rand kann die Raumwirkung erheblich beeinflussen und verschiedene optische Effekte erzeugen. Nicht nur die Breite, sondern auch die Farbwahl und Platzierung haben Einfluss auf das Raumgefühl.
1. Optische Verkleinerung oder Vergrößerung der Wand
Heller Rand auf dunkler Wand:
Ein heller Rand auf einer dunklen Wand: begrenzt die Fläche optisch und lässt die Wand kleiner sowie kompakter wirken. Dies kann in großen Räumen genutzt werden, um bestimmte Bereiche gemütlicher und einladender zu gestalten.
Dunkler Rand auf heller Wand: Ein dunkler Rand auf einer hellen Wand erzeugt eine Rahmenwirkung. Dadurch wirkt die Wand präsenter und rückt stärker in den Fokus. Diese Technik eignet sich gut für Akzentwände oder um besondere Möbelstücke hervorzuheben.
2. Einfluss auf die Raumhöhe
Wand mit Rand an der Decke (10–20 cm abgesetzt): Wird der Rand direkt unterhalb der Decke gesetzt, erscheint die Raumhöhe optisch niedriger. Diese Methode ist ideal für hohe Räume, die gemütlicher wirken sollen.
Wand mit Rand am Boden: Ein Rand am unteren Wandbereich kann einen Raum gestreckter und größer wirken lassen. Diese Technik eignet sich besonders gut für kleine Räume, da sie das Raumgefühl erweitert.
3. Akzentuierung und Strukturierung des Raums
Eine Wand mit Rand kann gezielt zur Akzentuierung und Strukturierung eines Raumes eingesetzt werden. Besonders als Akzentwand hinter einem Bett, Sofa oder Schreibtisch lenkt sie durch Farbkontraste den Blick und verstärkt die visuelle Präsenz.
Kontrastreiche Farbtöne sorgen für ein dynamisches Design, während dunkle Ränder auf hellen Wänden oder umgekehrt die Struktur betonen und den Raum lebendiger wirken lassen.
4. Stilrichtungen und Designwirkung
Je nach Stil und Farbauswahl kann eine Wand mit Rand eine klassische und zurückhaltende oder eine moderne und ausdrucksstarke Wirkung erzielen. Sanfte Farbabstufungen und dezente Ränder erzeugen eine elegante, zeitlose Atmosphäre, die sich nahtlos in verschiedenste Wohnstile einfügt. Wer es kreativer mag, kann mit kräftigen Farbtönen und ungewöhnlichen Randgestaltungen eine verspielte, dynamische Optik erzeugen. Durch asymmetrische Designs oder farbige Rahmen lassen sich spannende Akzente setzen, die dem Raum Individualität und Charakter verleihen.
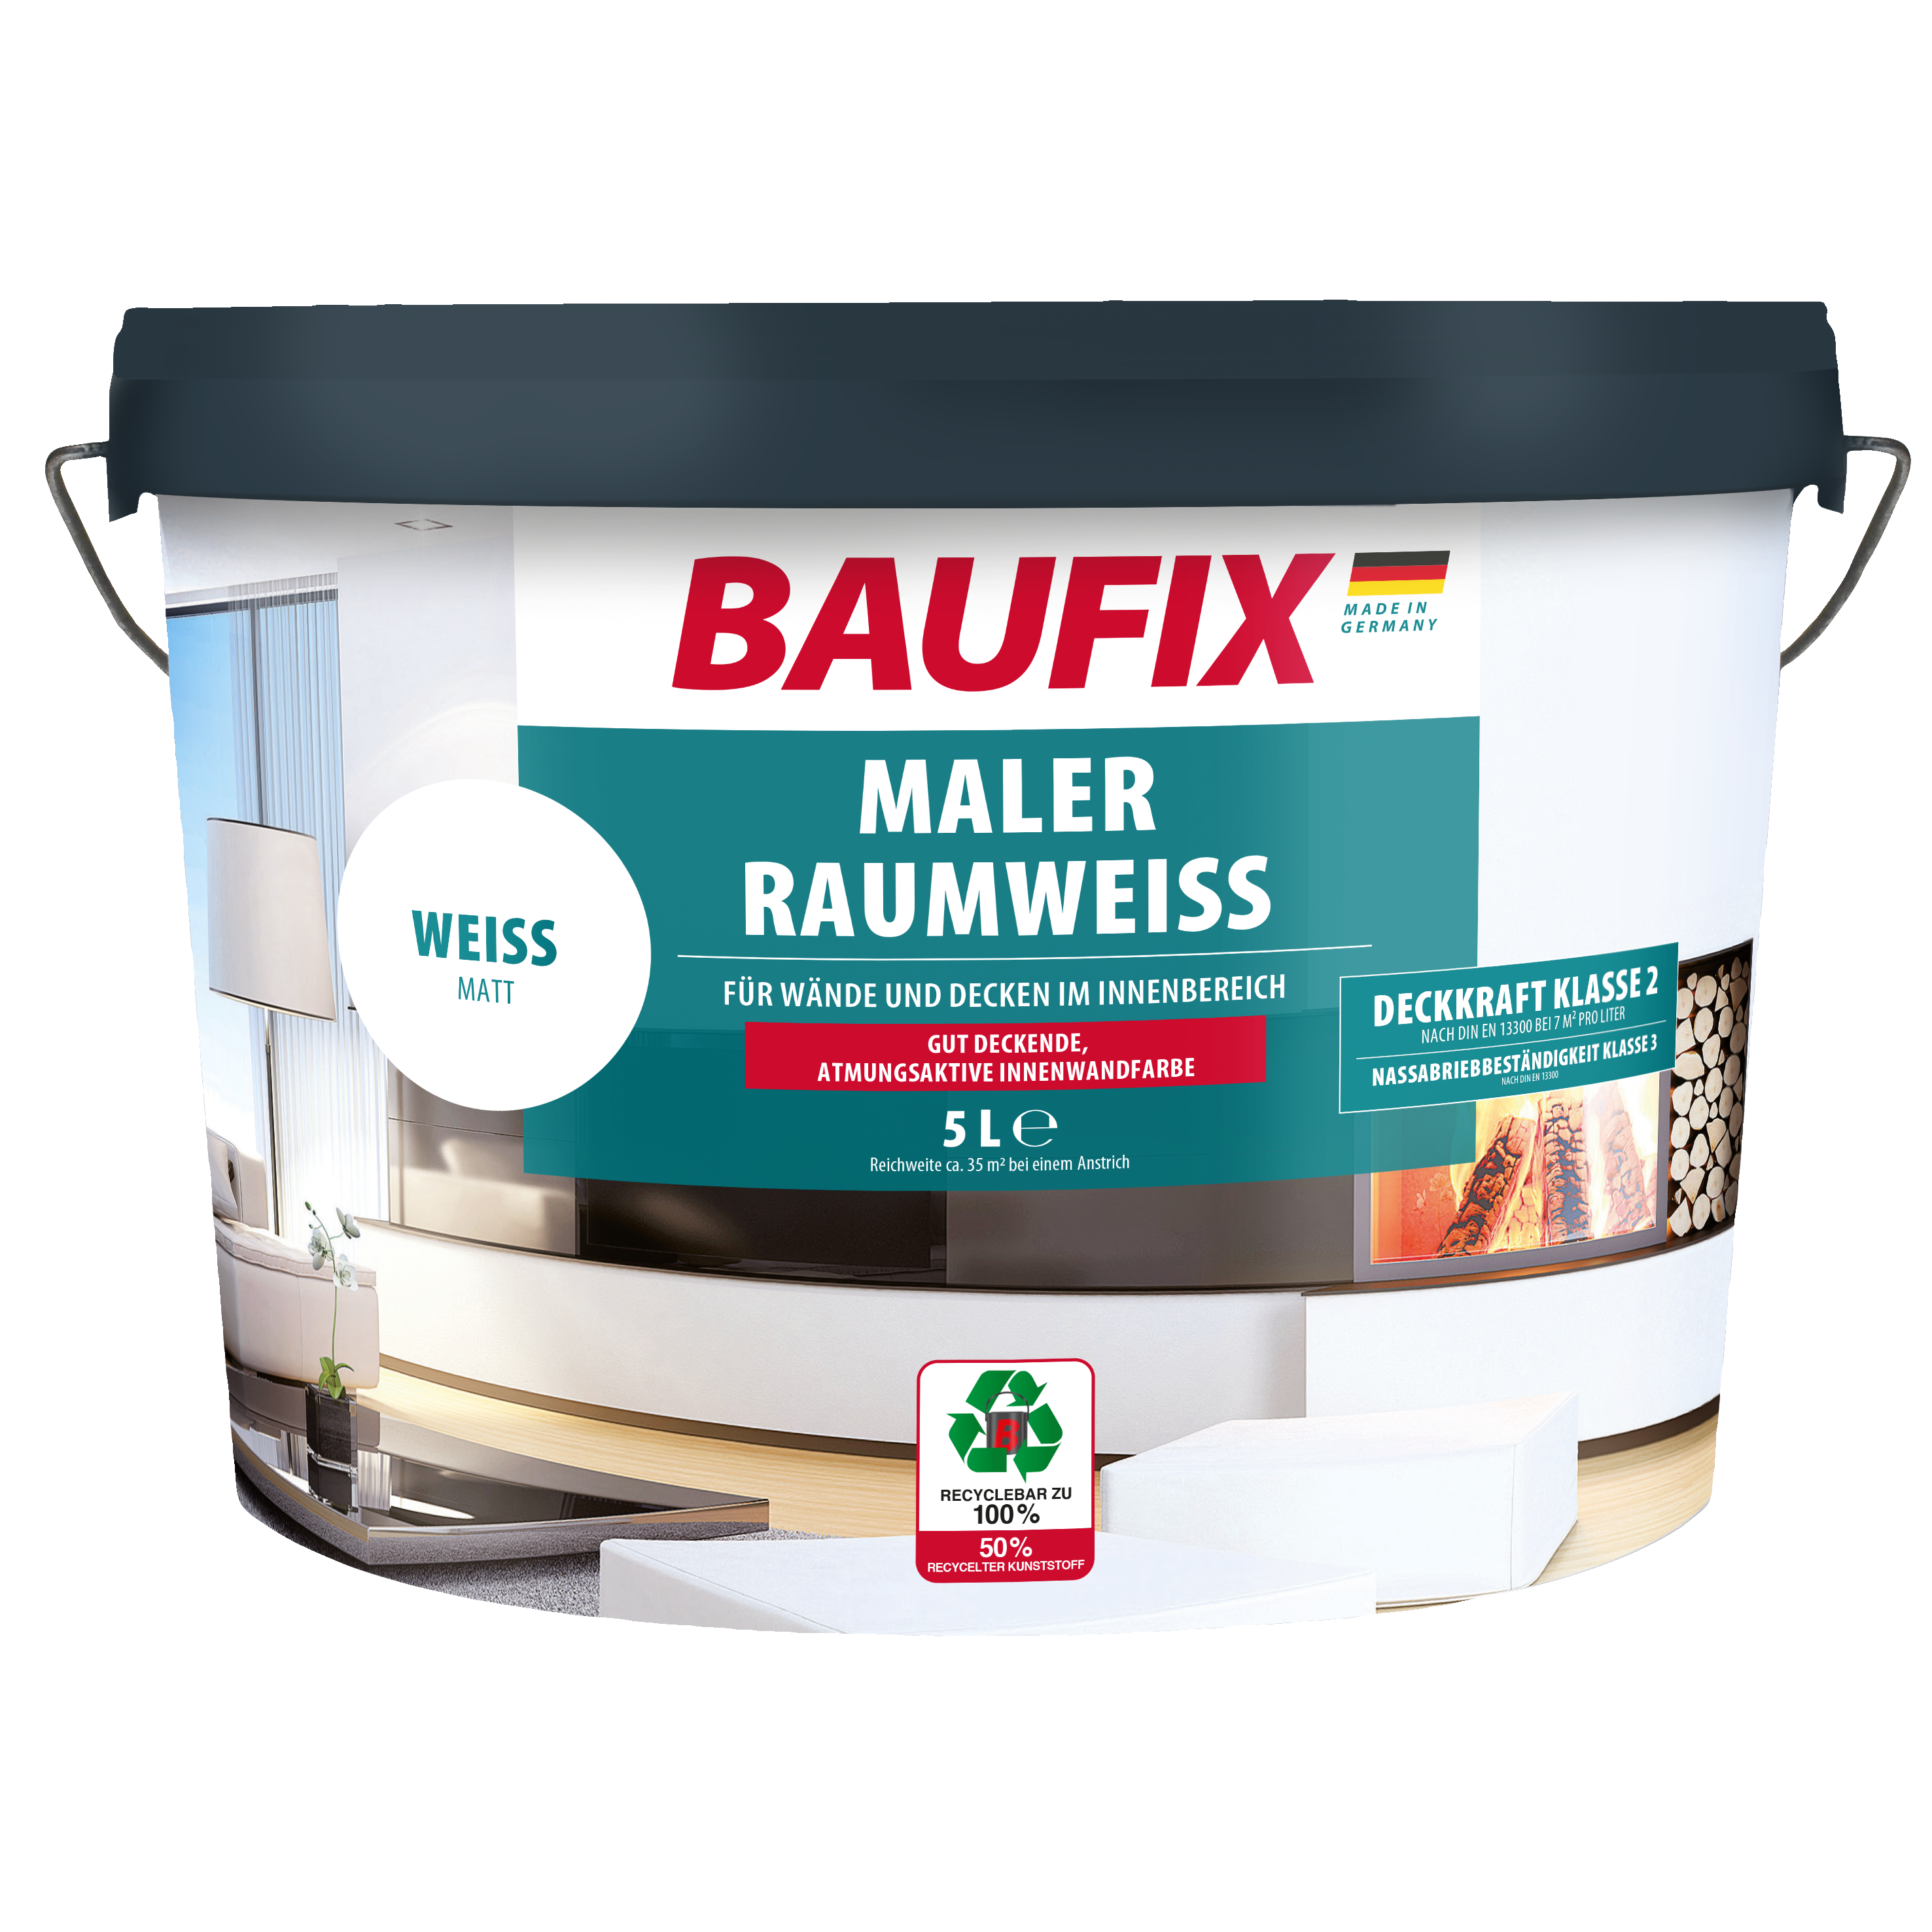
Unsere weiße Wandfarbe:
BAUFIX Maler Raumweiß
- für innen & außen
- schnelltrocknend
- wasserverdünnbar
- gute Haftungseigenschaften
- geeignet für Holz, Zink, Beton, Eisen und Mauerwerk