subheading
Painting walls: step-by-step to the perfect result
A fresh coat of paint can
Work wonders! The right emulsion paint and technique often make
the difference. Whether it is about subtle accents or bold color areas –
Painting walls is an easy way to personalize your home
We'll explain how it works!
subheading
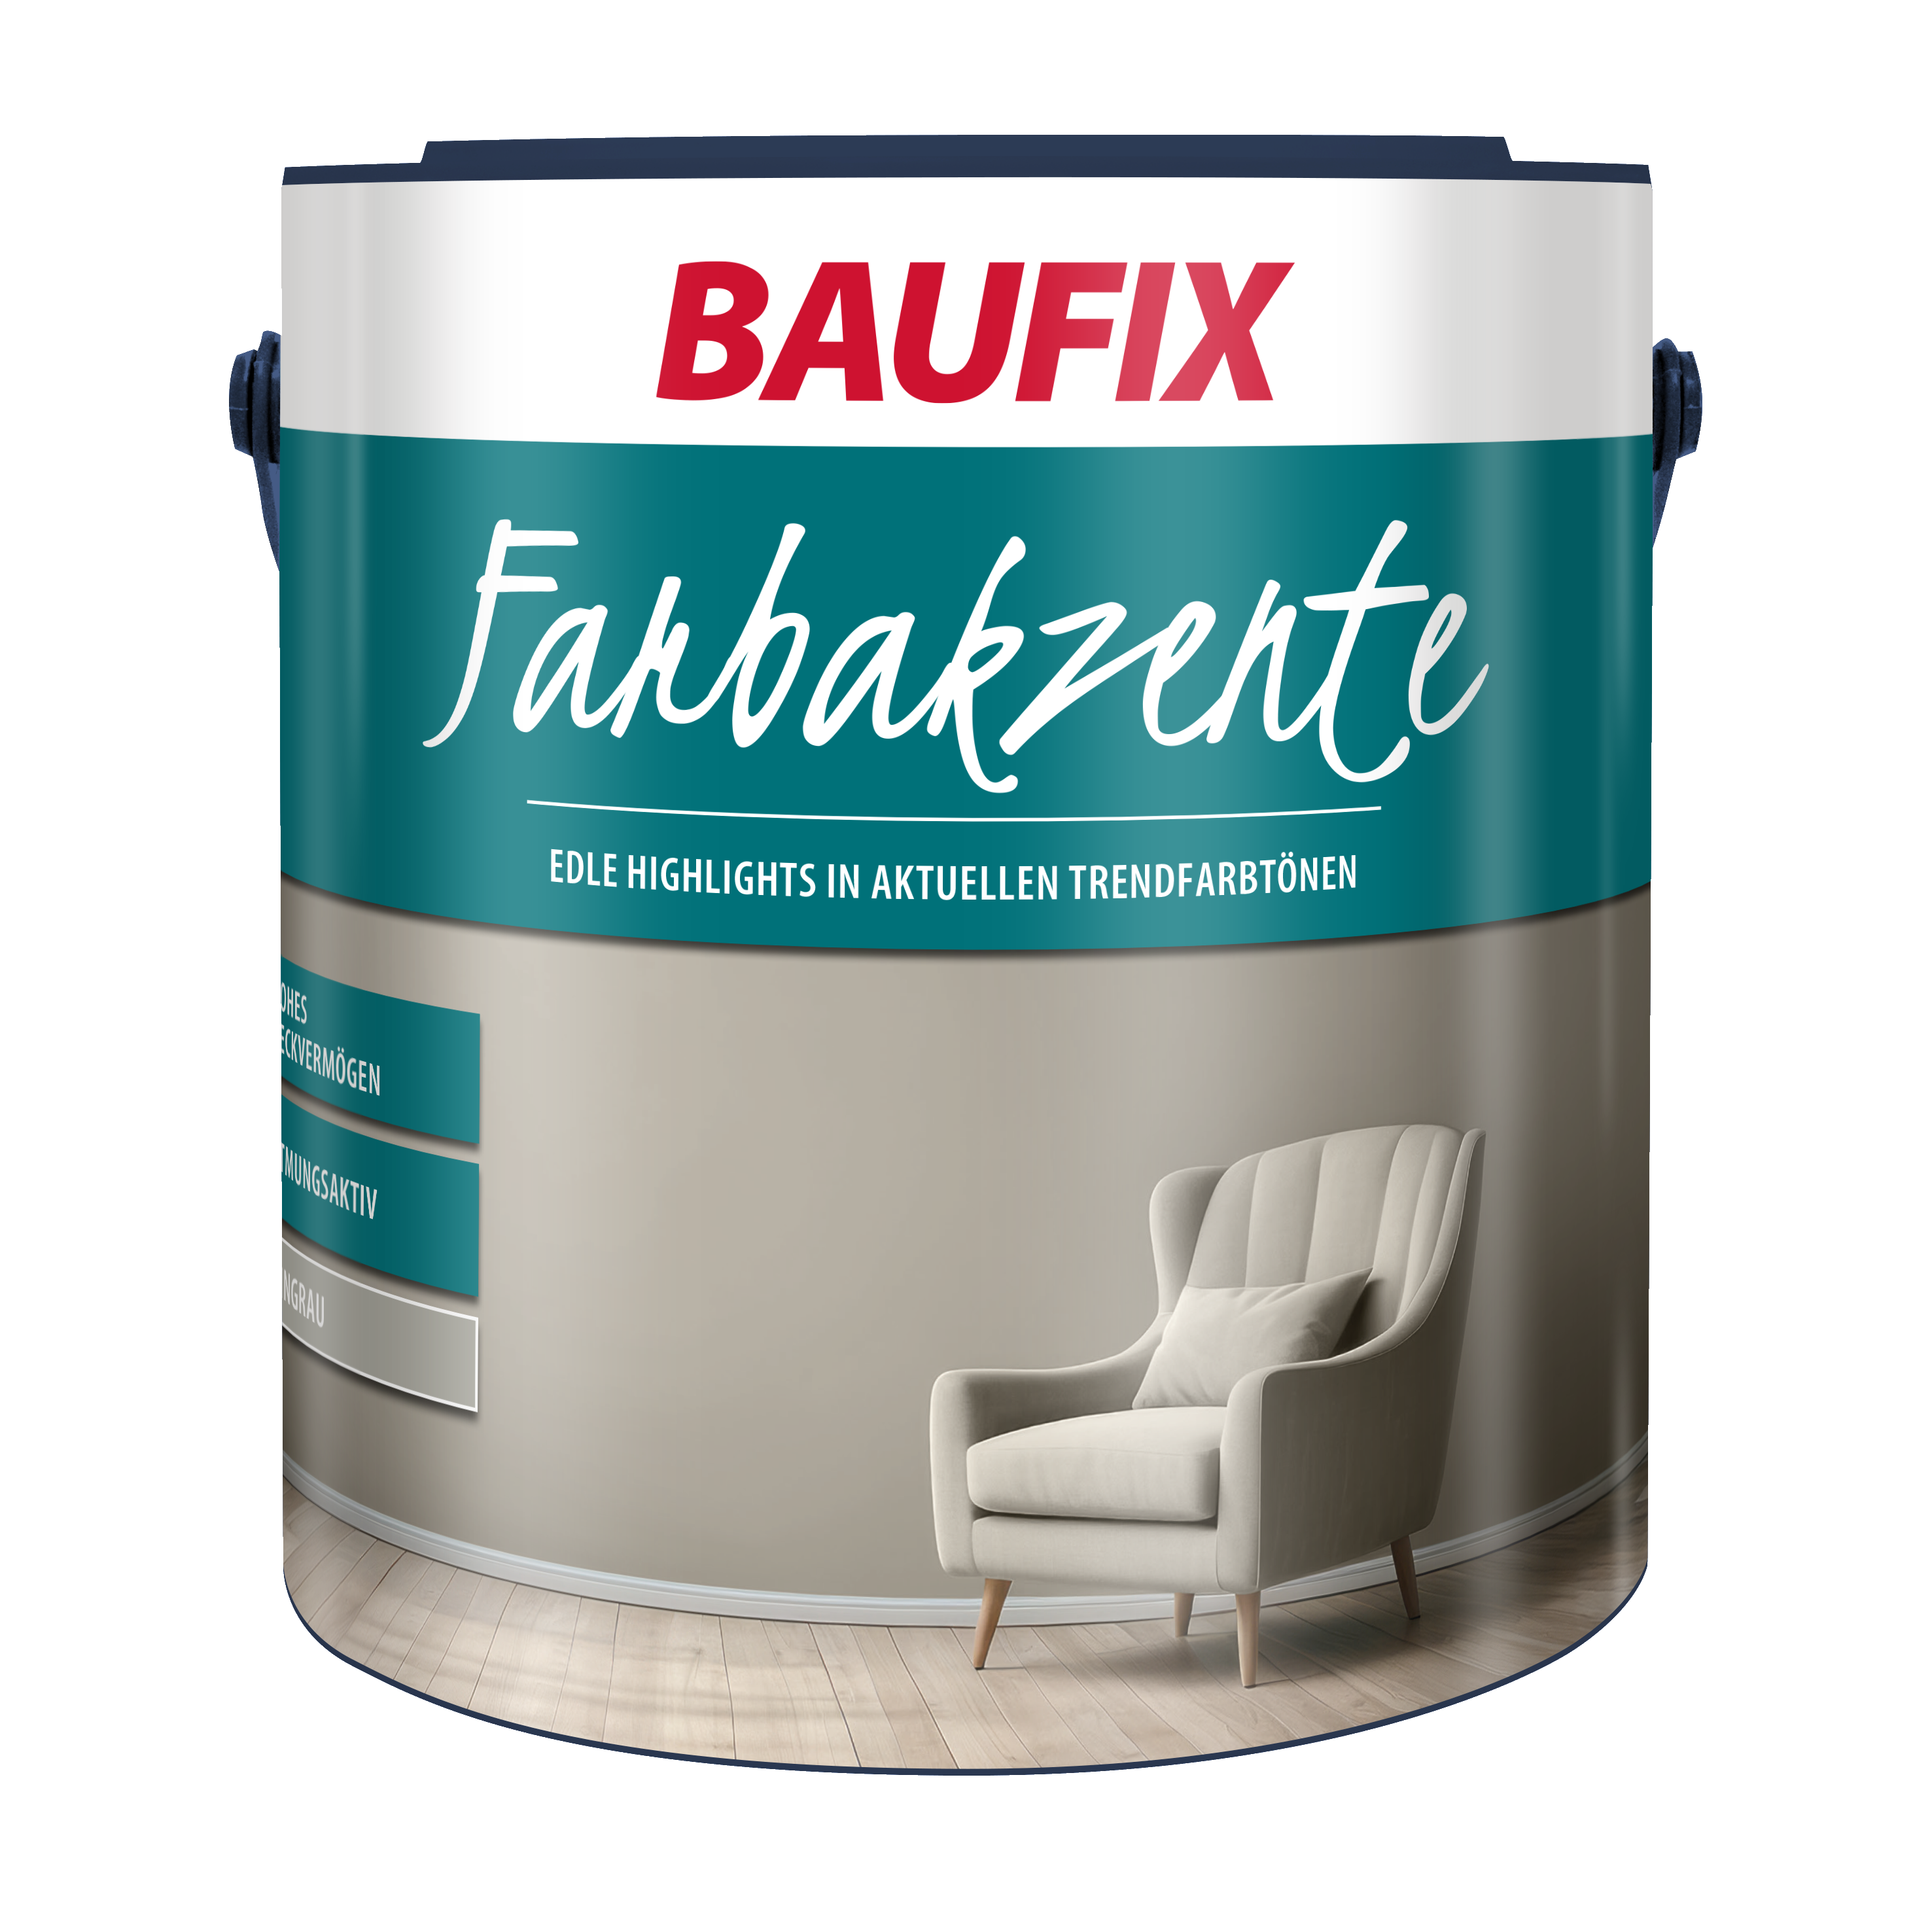
Our colored emulsion paint: BAUFIX Styles color accents
- elegant highlights in current trend colors
- for interior walls and ceilings
- lightfast and durable
- wet abrasion resistance class 3
- covering power class 2
subheading
The most important things about painting walls in brief
masking
Before painting walls
Clean light switches, sockets, skirting boards and window frames carefully with
Mask off with painter’s tape or cover with masking film to protect them from
to protect against paint splashes.
smooth the surface
Smooth out cracks and unevenness on the substrate for a clean coat, optionally prime.
control the amount of paint
Use a paint grid or paint tray to regulate paint absorption.
use the light
Paint from the window into the room.
subheading
Series
First paint the ceiling, then the walls.
edges & corners
First work with a brush or small roller.
painting wall surfaces
Work with a large paint roller on a telescopic handle.
Choosing the right role
Long pile for thin emulsion paints and rough walls (e.g. rough plaster), short pile for pasty emulsion paints and smooth walls.
subheading
Working wet on wet
No breaks to avoid stains and edges.
Technology
Paint walls in “M” or “W” motions, then use vertical strokes for streak-free application.
Step 1: Preparation for painting walls
Before painting, carefully cover the skirting boards with masking tape and cover the floor with masking film or painter's fleece to avoid paint splashes.
Turn off the power and cover sockets and light switches. Also tape the door frames and window frames to protect them from paint splashes and to maintain clean paint edges.
Before painting walls, clean the surface thoroughly to remove dust, grease and dirt, as these can affect the adhesion of the paint. To do this, mix a conventional cleaning agent with warm water and remove dirt and grease with a sponge or brush.
Remove walls before
Remove old nails, dowels or screws and fill cracks, holes and uneven areas with filler. Smooth the wall surface so that a
A flawless surface for painting is created. Seal visible gaps that may appear between the door frame and the wall with acrylic filler from the tube.
- masking set
- masking tape
- painter's fleece
- filler
- spatula

subheading
A primer before painting walls is a good idea if the surface is very absorbent, uneven or already has an old, porous coat of paint. Priming creates an even, adhesive surface and ensures that the paint layer does not soak in unevenly or flake off. A primer is particularly recommended for new plaster walls, plasterboard or old wallpaper to avoid color gradients and to increase the opacity of the paint.
Testing whether a primer is necessary
Wipe the surface with a dark cloth. If a chalky residue remains on the cloth, this indicates a porous wall surface that requires a primer.
Press a piece of masking tape firmly onto the wall and then pull it off again. If paint residue sticks to it, the surface is not stable and should be stabilized with a primer.
Paint a small area with water. If it darkens immediately or the water is absorbed directly, this shows that the wall is very absorbent and a primer is advisable.
These tests will help you easily determine if a primer is needed to achieve the best paint results.
- deep ground
- Quast
FAQ
When painting walls, use high-quality paint rollers, corner brushes and paint brushes to achieve clean, lint-free results. Make sure the paint roller fits well in the bucket or use a paint tray.
When painting, only dip the brush about two centimeters deep into the wall paint to avoid paint runs.
Corners and edges are carefully painted with a corner brush to ensure that even difficult areas are well covered. Make sure that the wall paint is evenly distributed to the left and right of the corners.
- corner brush
- brush set
- painter's gloves
FAQ
Either work with the paint roller from the paint tray or directly from the bucket - depending on the roller size and bucket opening. If you work directly from the bucket, use a paint grid to control the amount of paint.
To prevent visible paint edges, apply the emulsion paint quickly and in overlapping layers while the surface is still wet to achieve a streak-free finish.
Paint the wall in even strips with the roller to achieve a clean, even application of paint. Use a telescopic pole to easily reach higher areas of the wall and paint evenly. A short-pile roller is suitable for smooth wall surfaces such as freshly plastered drywall, while a long-pile roller is ideal for heavily textured surfaces such as rubbed plaster.
The drying time of wall paint depends on several factors, such as the type of wall paint, room temperature, humidity and ventilation. Here are some general guidelines:
- Dust-dry: Most wall paints are dust-dry after about 1-2 hours after painting.
- Touch dry: After 4-6 hours the surface can usually be carefully touched.
- Repaintable: In most cases, the first coat of paint can be repainted after 6-12 hours if a second coat is necessary.
- Completely dry: It can take up to 24 hours for the paint to dry completely. Some paints, such as special varnishes, even need several days.
After painting walls, it is recommended to promote air circulation in the room by gently ventilating, but without drafts, as this can cause uneven drying.
- telescopic paint roller
- universal paint roller

subheading
Clean brushes and paint rollers immediately after painting walls: simply wash out water-based paints with water, use a cleaner for solvent-based paints. Rinse well and allow to air dry.
Store leftover emulsion paint in a tightly closed container in a cool,
frost-free place. You can also take liquid paint residues to the recycling center
Dried remains belong in the household waste.
What you need: Brush cleaner
Use this text to share information about your brand with your customers. Describe a product, share announcements, or welcome customers to your store.
subheading
Painting walls with a border
1.Preparation
Make sure the wall is free of dust. Protect skirting boards, window frames, door frames, electrical outlets and light switches with masking tape and cover the floor with paper, drop cloth or painter's fleece to prevent paint splashes.
2. Taking measurements
Use a ruler, pencil,
Spirit level or laser to draw a straight line. The edge should be between 5 and 25 cm wide, depending on your preference.
3. Apply adhesive tape
Use high-quality masking tape to ensure a precise separation between the paint and the edge. To begin, paint the edge of the tape with ceiling paint to prevent the paint from bleeding through.
4. Paint application
When painting walls, start at the transition to the ceiling and work downwards. If different colors meet, allow the first coat to dry thoroughly before applying the second color to the adjacent wall area and then masking it off again.
5. Remove edges cleanly
Remove the tape while the top layer of paint is still wet to avoid torn edges.
subheading
painting patterns on walls
Painting patterns
works basically the same as painting a wall with a border.
However, keep these two important tips in mind:
1. Always start with the lighter color, as it will not show through the darker color when painted over later.
2. Use a brush for small areas and edges, while working on larger areas with a paint roller to avoid streaks. This will give you a clean and even pattern.
subheading
painting circles on walls
Determine the center point for your circle and stick a thumbtack into the wall. Cut the string to the desired radius and attach it to the thumbtack, with the pencil at the other end. Stretch the string and use it to draw an even circle.
Tape off the edge with masking tape, paint the edges and then fill the circle with paint. Peel off the tape when the paint layer is no longer shiny. If you have a steady hand, you can also paint the circle directly without masking.
subheading
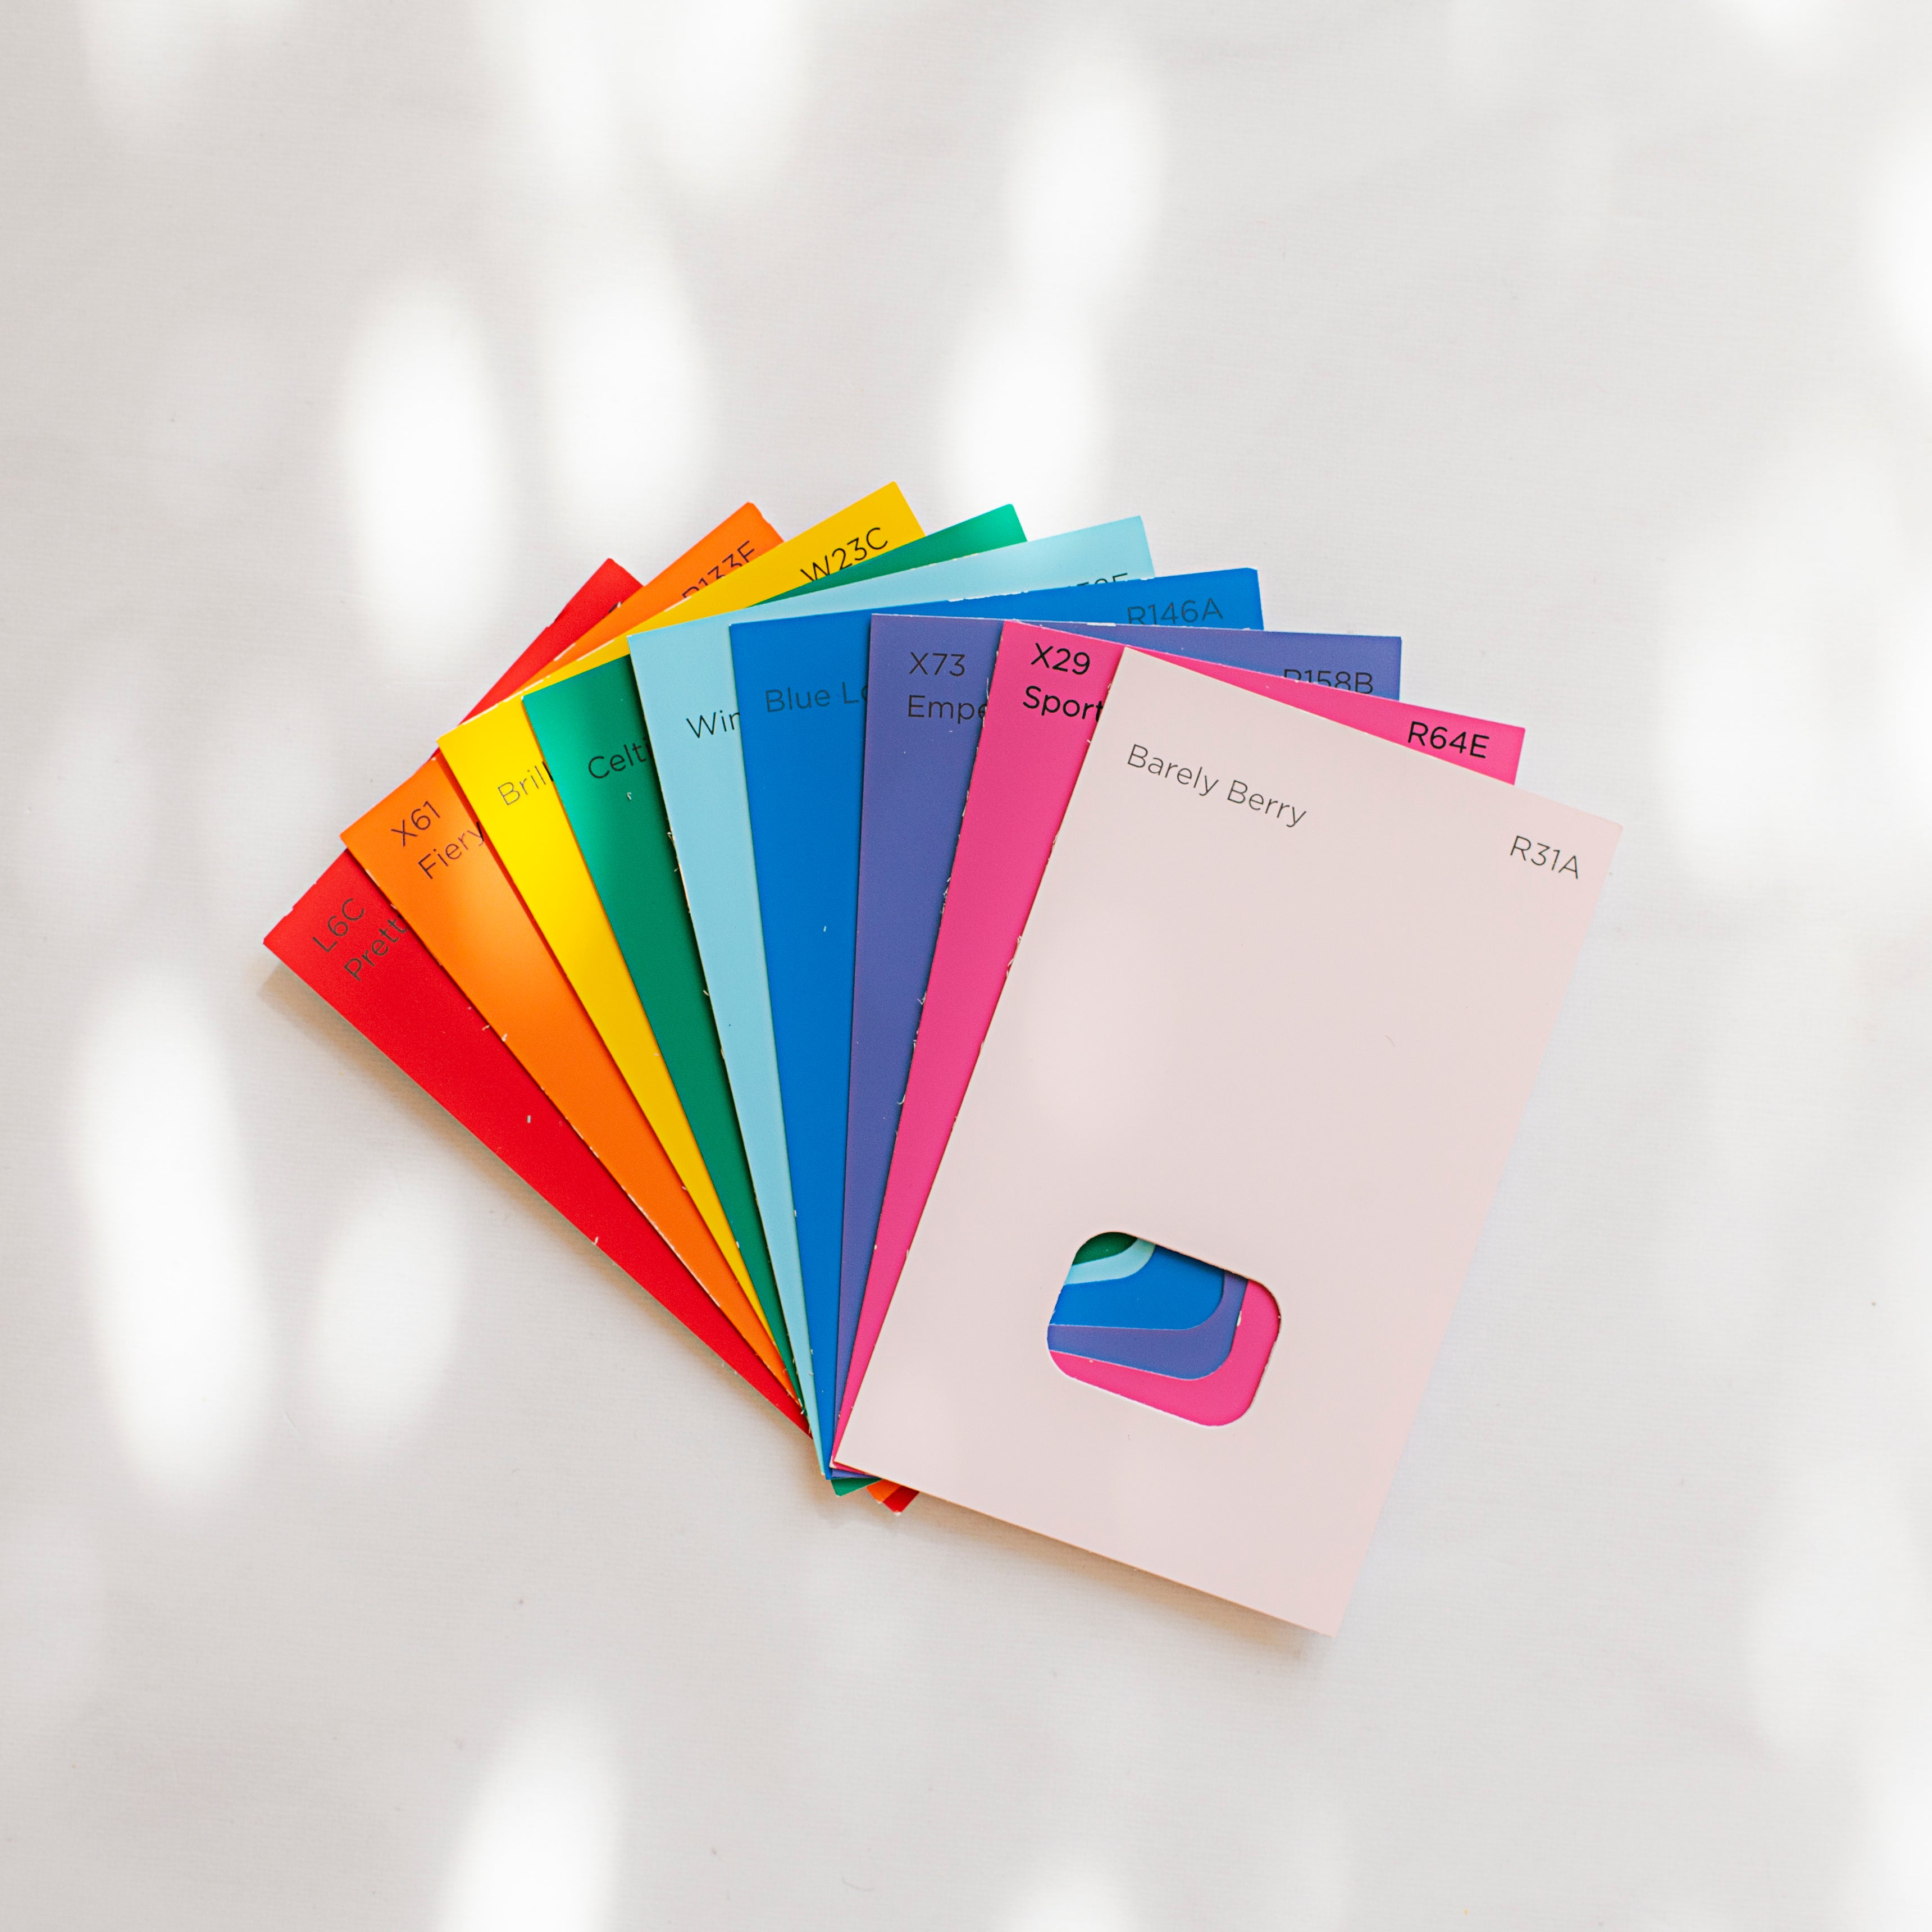
Painting walls: the right color selection
When choosing a color for painting the walls, you should first think about how you want the room to look. Do you want the room to appear larger or smaller?
subheading
For a larger room
Light colors such as white, light gray or pastel tones reflect the light and make the room appear more open and airy. This color selection is ideal for small rooms to make them appear larger.
For a smaller, cozier room
Darker colors like dark gray, navy or earth tones create a cozy atmosphere and make the room feel more intimate and comfortable. These colors are good for larger rooms that you want to make a little more inviting.
subheading
Also think about the function of the room: when painting walls in bedrooms and living rooms, use calming and soft colors. In study rooms, stronger or contrasting colors have a stimulating effect.