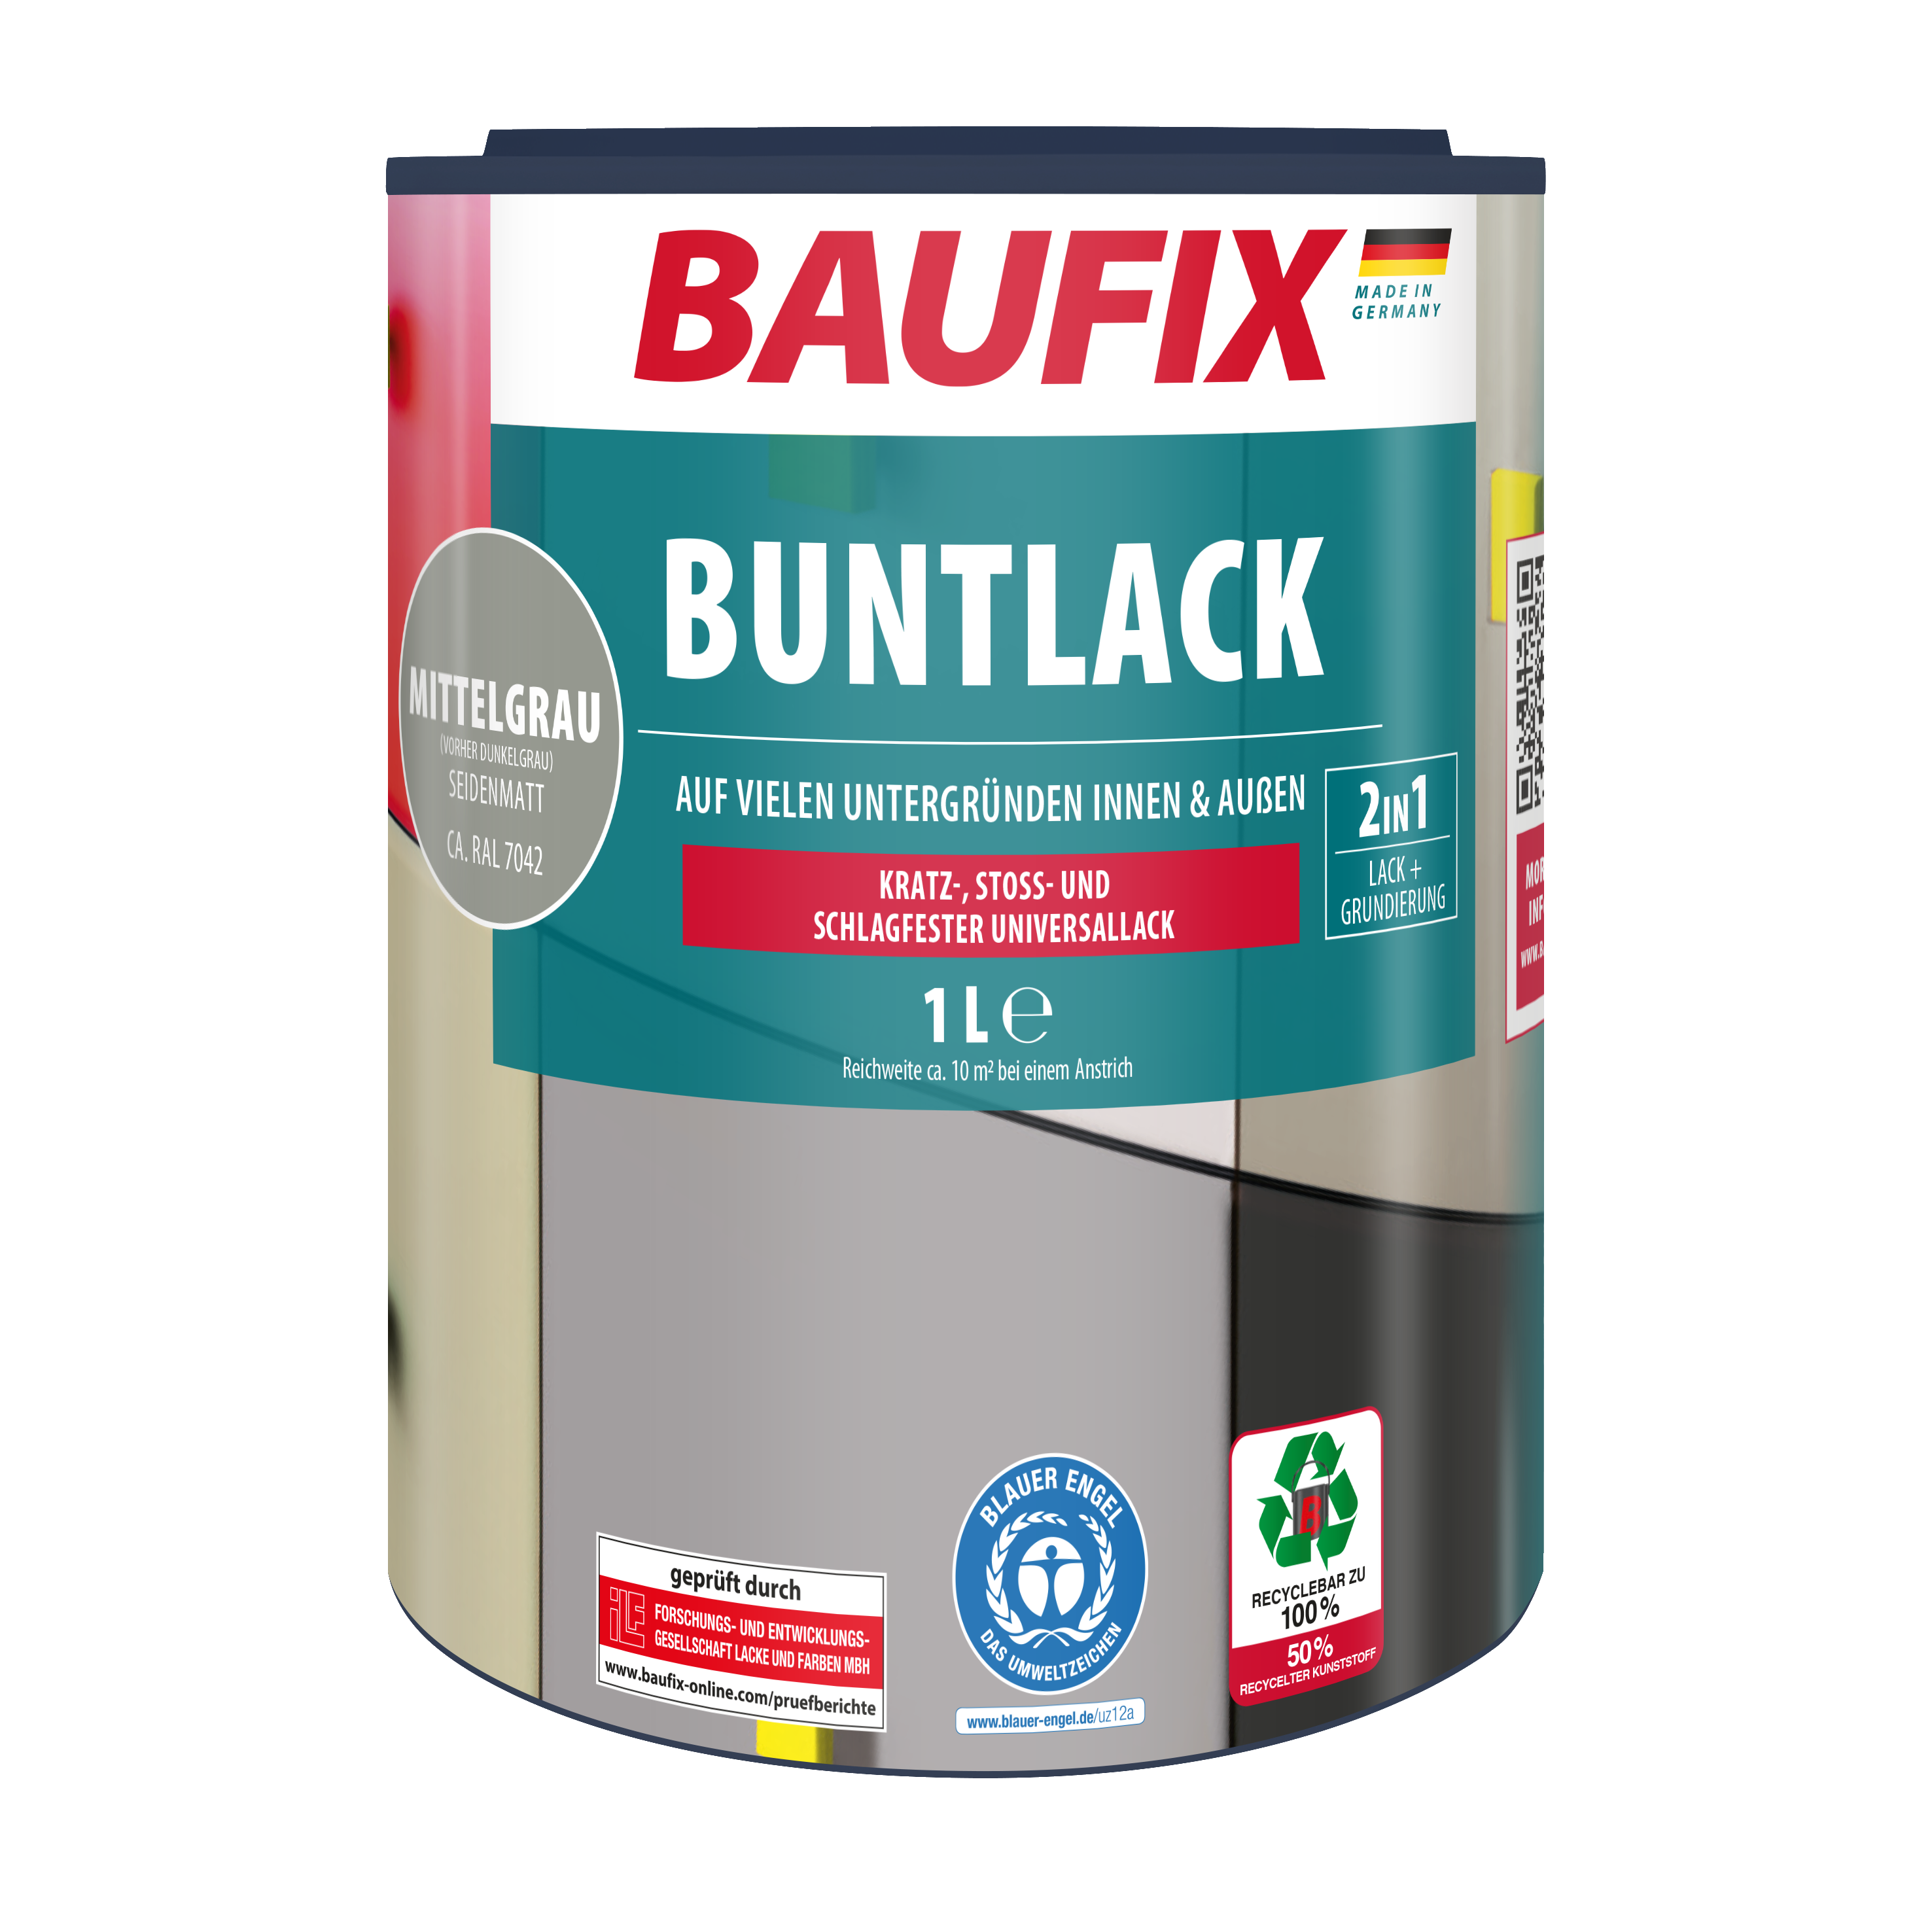
BAUFIX Buntlack seidenmatt
- für innen & außen
- schnelltrocknend
- wasserverdünnbar
- gute Haftungseigenschaften
- geeignet für Holz, Zink, Beton, Eisen und Mauerwerk
Holzdecke streichen - Schritt-für-Schritt-Anleitung & Tipps
Eine Holzdecke verleiht Räumen Wärme, Natürlichkeit und eine einladende Atmosphäre. Mit der Zeit können jedoch Farbveränderungen, Abnutzungen oder ein Wunsch nach einem moderneren Look dazu führen, dass ein neuer Anstrich notwendig wird. Das Streichen einer Holzdecke ist nicht nur eine Möglichkeit, das Erscheinungsbild eines Raumes zu verändern, sondern auch eine effektive Maßnahme, um das Material zu schützen und seine Langlebigkeit zu gewährleisten. Ob Weiß für ein helleres Ambiente oder eine farbliche Akzentuierung – die Wahl des richtigen Anstrichs und eine sorgfältige Vorbereitung sind entscheidend für ein überzeugendes Ergebnis. In dieser Anleitung erfährst du, wie du eine Holzdecke streichst, welche Materialien und Werkzeuge benötigt werden und welche Schritte für ein perfektes Finish wichtig sind.
Holzdecke streichen: Das benötigst du für die Malerarbeiten
- Abdeckfolie: Zum Schutz von Böden, Möbeln und Wänden. · Malerkrepp oder Klebeband: Für saubere Kanten an Wand- und Deckenübergängen.
- Reinigungstücher oder Schwamm: Zum Reinigen der Holzdecke und Entfernen von Schleifstaub.
- Schleifpapier (Körnung 120-180) oder Exzenterschleifer: Für das Abschleifen der Holzoberfläche.
- Staubmaske und Schutzbrille: Zum Schutz vor Staub und Dämpfen.
- Pinsel (Flach- und Rundpinsel): Für Ecken, Kanten und kleinere Flächen.
- Farbroller (Kurzflor oder Schaumstoff): Für größere Flächen und ein gleichmäßiges Ergebnis.
- Farbwanne: Zum einfachen Aufnehmen der Farbe.
- Rührstab: Zum gründlichen Mischen der Farbe.
- Grundierung (falls nötig): Für saugende oder unbehandelte Holzdecken. ·
- Holzfarbe oder Lasur: Je nach gewünschtem Look (deckend oder transparent).
- Versiegelung (optional): Für zusätzlichen Schutz und Haltbarkeit.
Schritt-für-Schritt-Anleitung: Holzdecke streichen
1. Raum vorbereiten
Räume den Raum so weit wie möglich leer, damit du ungestört arbeiten kannst. Decke den Boden mit Malervlies oder Abdeckpapier ab, da diese Materialien rutschfest und strapazierfähig sind. Verbleibende Möbel schützt du mit Folie. Falls du fest installierte Lampen hast, lass sie von einem Fachmann abmontieren, um sicher zu arbeiten.
2. Untergrund vorbereiten
Entferne Staub und Schmutz mit einem Staubsauger und reinige die Holzdecke mit einem milden Reinigungsmittel und lauwarmem Wasser. Wische anschließend mit klarem Wasser nach und lass die Fläche gut trocknen. Wenn die Holzdecke alte, beschädigte Lackschichten oder Unebenheiten hat, entferne sie mit Schleifpapier oder einem Abbeizer. Trage die Beize dazu mit einem Abbeizpinsel auf und lasse sie je nach Herstellerangabe einwirken. Anschließend kannst du die alte Farbe mit einem Spachtel entfernen.
Schleife die Holzoberfläche nun leicht an, damit die neue Farbe besser haftet. Fülle Astlöcher und Risse mit Holzspachtelmasse, lass sie trocknen und schleife die Stellen anschließend mit
Schleifpapier oder einer Schleifmaschine glatt. Entferne den Schleifstaub gründlich, bevor du die Holzdecke streichst.
Grundierung auftragen (falls erforderlich)
Wenn deine Holzdecke aus unbehandeltem Holz besteht, grundiere die Deckenpaneele, um das Durchschlagen von Gerbstoffen und unschönen Flecken zu verhindern. Verteile die Grundierung gleichmäßig und lass sie nach Angaben des Herstellers gut trocknen.
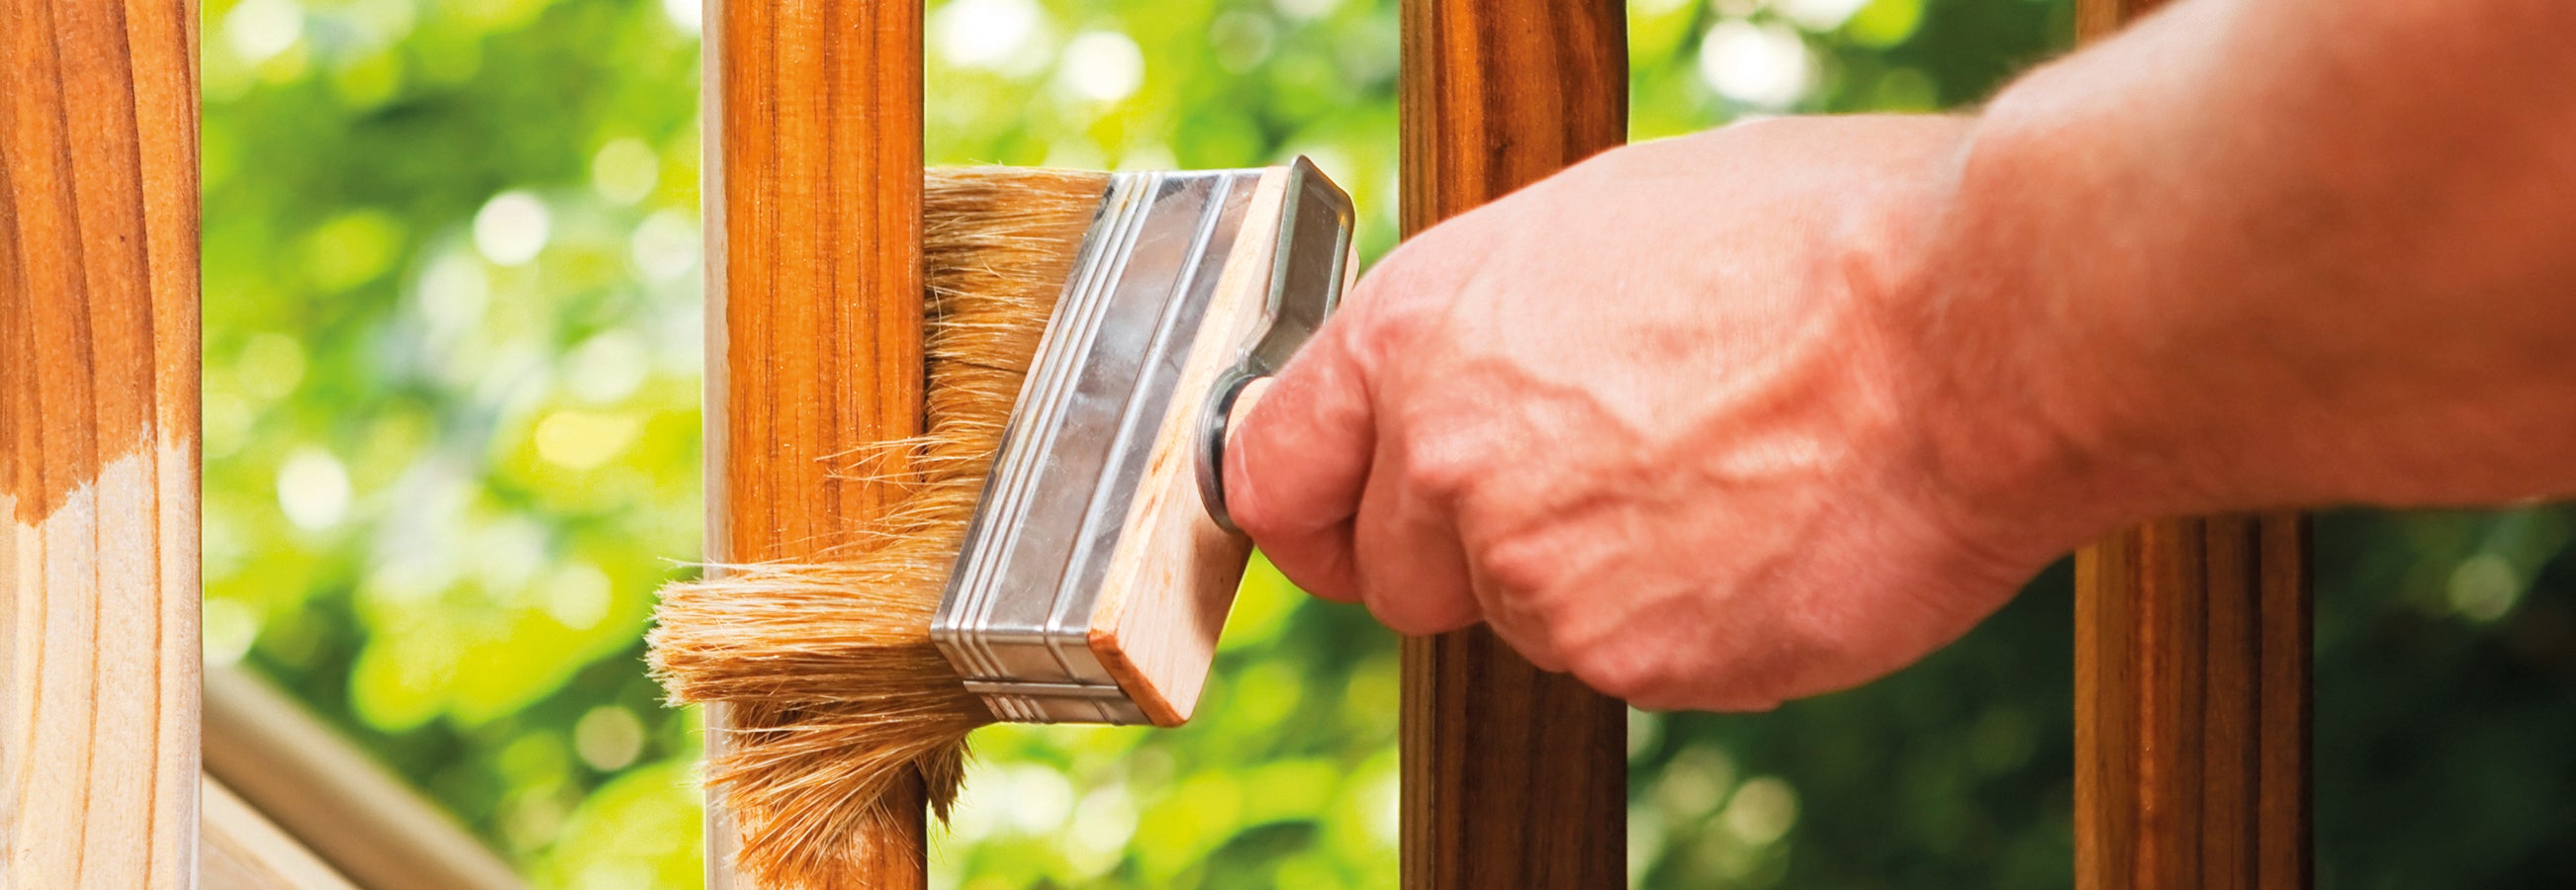
4. Holzdecke streichen
Bereite deine Werkzeuge wie Pinsel und Lackrolle vor. Beginne mit einem Flachpinsel, um die Kanten und Vertiefungen sorgfältig zu streichen. Danach nimmst du eine Lackrolle für die größeren Flächen. Arbeite immer in Richtung der Holzmaserung und streiche die Farbe nass-in-nass auf, um sichtbare Ansätze zu vermeiden. Lass die erste Schicht etwa vier bis sechs Stunden trocknen.
5. Zweiter Anstrich (optional)
Für ein gleichmäßiges und perfektes Ergebnis kannst du einen zweiten Anstrich auftragen, sobald die erste Schicht vollständig trocken ist. Wiederhole dabei die gleichen Schritte wie zuvor. Lass die zweite Schicht 12-24 Stunden trocknen.
6. Versiegelung (optional)
Wenn du Wandpaneele gestrichen hast, die stark beansprucht werden, trage nach dem Trocknen der Farbe eine schützende Versiegelung auf. Dadurch wird die Oberfläche strapazierfähiger und widerstandsfähiger gegen Kratzer und Schmutz. Bei Holzdecke streichen ist dieser Schritt in der Regel nicht erforderlich.
7. Abschlussarbeiten
Entferne nach dem Streichen der Holzdecke alle Abdeckfolien und das Malervlies vorsichtig, bevor die Farbe vollständig durchgetrocknet ist. So vermeidest du Beschädigungen. Nachdem die Farbe komplett ausgehärtet ist (nach etwa 14 Tagen), kannst du die Möbel zurückstellen und die Lampen wieder anbringen. Jetzt ist dein Raum mit einer frisch gestrichenen Holzdecke bereit für einen neuen, modernen Look!
Mit welcher Farbe sollte man eine Holzdecke streichen?
Die Wahl der richtigen Farbe für das Streichen einer Holzdecke hängt vom gewünschten Look, der Raumfunktion und der Beschaffenheit der Holzdecke ab. Hier sind die besten Farboptionen:
1. Acrylfarben (Wasserbasiert)
Vorteile:
- Schnelle Trocknung
- Geruchsarm und umweltfreundlich
- Einfach zu verarbeiten
Empfehlung:
Perfekt für Wohnräume und Schlafzimmer. Acrylfarben bieten eine gleichmäßige, matte oder seidenmatte Oberfläche und sind ideal für helle, moderne Looks.
2. Holzlack (Wasser- oder Lösemittelbasiert)
Vorteile:
- Hohe Haltbarkeit und Abriebfestigkeit
- Gute Deckkraft und Schutz vor Feuchtigkeit
Empfehlung:
Wenn du eine strapazierfähige, glatte und widerstandsfähige Oberfläche möchtest, z. B. in Küchen oder Badezimmern, ist das Holzdecke streichen mit Lack die beste Wahl. Lackiere die Decke in einer matten oder glänzenden Variante, je nach deinem gewünschten Stil und der Raumwirkung. Buntlack schützt das Holz vor Feuchtigkeit und ist leicht zu reinigen, was ihn ideal für stark beanspruchte Bereiche macht.
3. Kreidefarbe (Matt und atmungsaktiv)
Vorteile:
- Natürlicher, matter Look
- Umweltfreundlich und ungiftig
- Gute Haftung auch ohne Grundierung
Empfehlung:
Für rustikale, skandinavische oder Vintage-Designs ist das Holzdecke streichen mit Kreidefarbe eine tolle Option. Sie verleiht der Decke ein warmes, gemütliches Aussehen.
4. Lasur (für natürlichen Holzlook)
Vorteile:
- Lasieren enthält die natürliche Holzmaserung
- Schützt vor UV-Strahlen und Feuchtigkeit
Empfehlung:
Wenn du die Holzmaserung sichtbar lassen möchtest, streiche die Holzdecke mit einer Lasur. Diese gibt es in transparenten und farbigen Varianten für einen dezenten Farbakzent.
Holzdecke streichen – so klappt’s ohne Tropfen
Das Streichen einer Holzdecke über Kopf ist einfacher, wenn du die richtige Technik und Vorbereitung beachtest. Decke den Boden und deine Möbel mit Abdeckfolie, Malervlies oder Papier ab, um sie vor Farbspritzern zu schützen. Tauche den Pinsel nur etwa ⅔ der Borsten in die Farbe, damit sie gleichmäßig aufgetragen wird und nicht heruntertropft. Achte beim Arbeiten mit der Farbrolle darauf, dass der Bügel nicht in die Farbwanne eintaucht, um Tropfen zu vermeiden. Streiche zuerst die Kanten und Ecken mit einem Pinsel und arbeite dich dann mit der Farbrolle in gleichmäßigen Bahnen vor. Überlappe die Bahnen leicht und rolle langsam, um Spritzer zu vermeiden. Reinige deine Werkzeuge nach dem Streichen gründlich. So erzielst du ein sauberes und professionelles Ergebnis.
FAQ: Häufige Fragen zum Holzdecke streichen
Ja, beschichtete Holzpaneele können gestrichen werden, wenn sie richtig vorbereitet werden. Reinige die Oberfläche gründlich mit einem fettlösenden Reiniger und schleife sie leicht mit feinem Schleifpapier an, um die Haftung zu verbessern. Trage danach eine spezielle Haftgrundierung für glatte Untergründe auf. Anschließend kannst du die Paneele mit einem geeigneten Lack oder einer speziellen Paneelfarbe streichen. Für ein langlebiges Ergebnis sind zwei Farbschichten empfehlenswert.
Ja, du kannst eine Holzdecke mit Wandfarbe streichen, jedoch ist das nicht ideal. Wandfarbe haftet auf Holz nur bedingt und kann schneller abblättern. Für ein besseres Ergebnis empfiehlt es sich, die Decke zuerst gründlich zu reinigen, leicht anzuschleifen und mit einer Haftgrundierung zu behandeln. Danach kannst du eine strapazierfähige, wasserbasierte Lackfarbe oder spezielle Holzfarbe verwenden. So bleibt die Oberfläche länger schön und widerstandsfähig.
Ja, Nut- und Federbretter können gestrichen werden. Wichtig ist auch hier eine gute Vorbereitung. Streiche anschließend zuerst die Fugen mit einem Pinsel und die Flächen mit einer Farbrolle.
Die Farbwahl für eine Holzdecke hängt von deinem gewünschten Stil und der Raumwirkung ab:
- Weiß: Ein Klassiker, der Räume heller und größer wirken lässt. Besonders geeignet für niedrige oder dunkle Räume.
- Naturtöne: Beigefarben, Sand- oder Grautöne strahlen Wärme und Gemütlichkeit aus, ideal für Wohn- oder Schlafzimmer.
- Holzfarbene Lasur: Streiche die Holzdecke mit einer transparenten Lasur, um die natürliche Holzoptik zu erhalten und das Holz zu schützen.
- Dunkle Töne: Anthrazit, Dunkelblau oder sogar Schwarz schaffen eine dramatische, moderne Atmosphäre, sind aber besser für hohe Räume geeignet.
Berücksichtige die Raumgröße, das vorhandene Licht und deinen Einrichtungsstil, um die passende Farbe für deine Holzdecke zu wählen.