Gartenhaus streichen - Tipps & Tricks
Gartenhaus streichen: Frischer Anstrich für die Gartenlaube
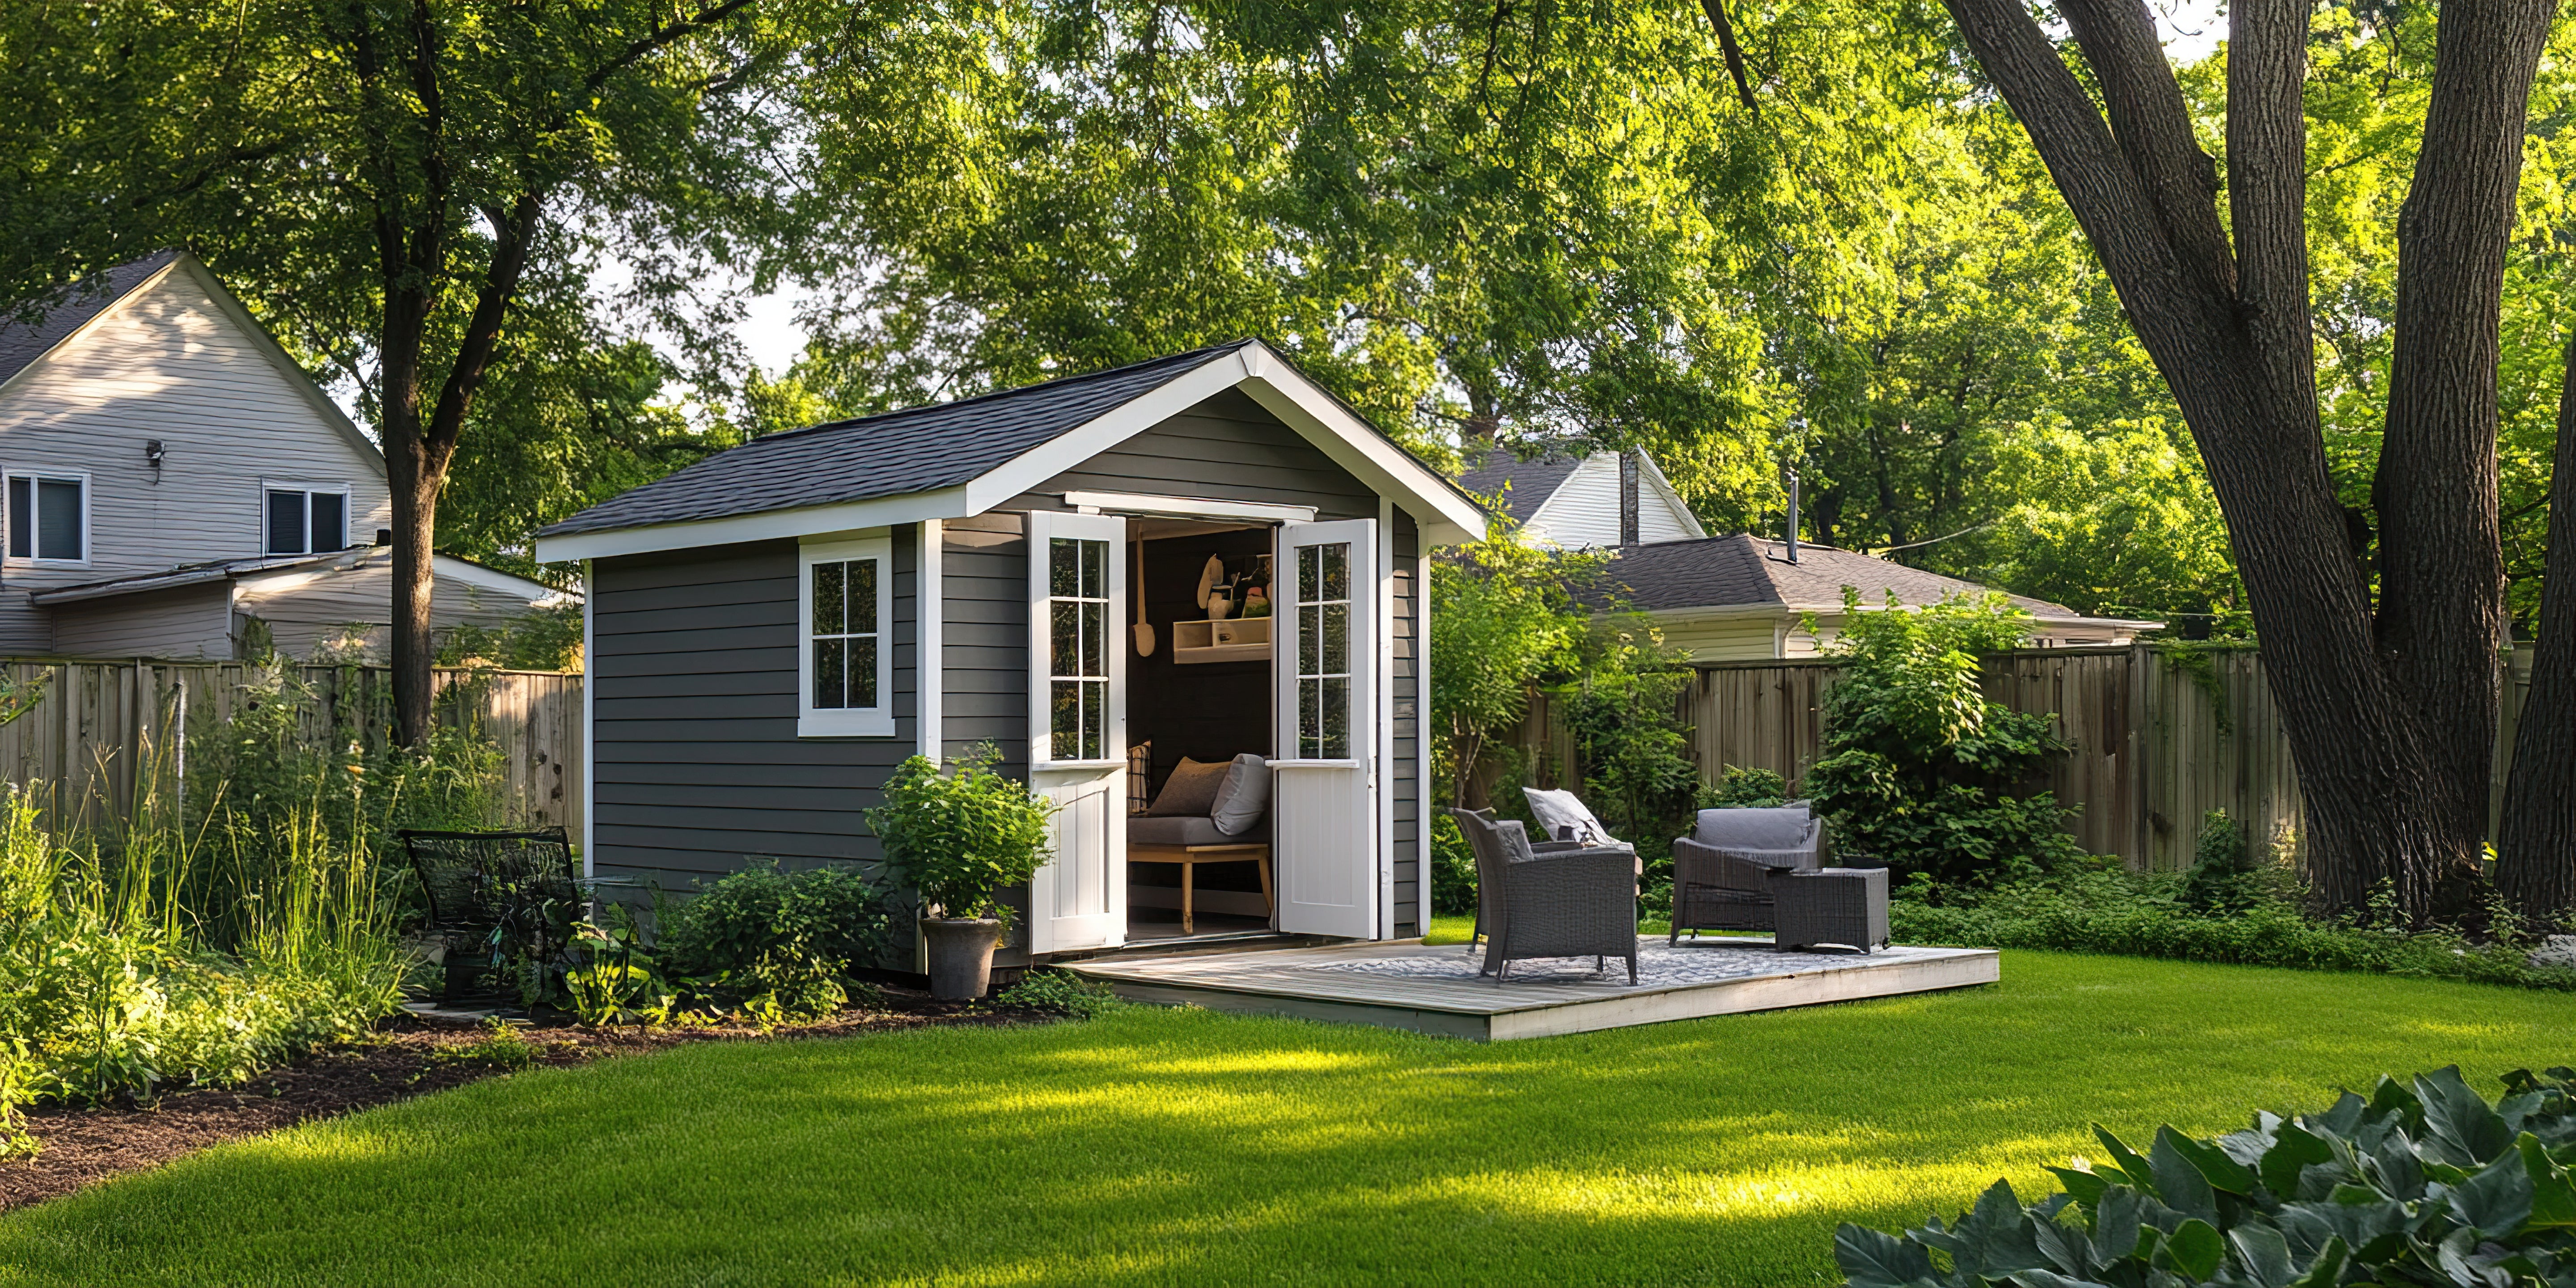
Das Gartenhaus ist ein beliebtes Inventar im eigenen Garten. Was oft sehr hübsch aussieht und als Ort der Aufbewahrung für Terrassenmöbel, Polster etc. dient oder gerne auch als Aufenthaltsraum bei schlechterem Wetter genutzt wird, bedarf einer regelmäßigen Pflege. Denn auch wenn Gartenhäuser im Regelfall aus heimischen Weichhölzern wie Fichte hergestellt sind, die als ziemlich robust gelten, machen UV-Strahlung, Feuchtigkeit und Frost dem Holz auf Dauer zu schaffen. Aber keine Sorge! Was sich nach viel Aufwand anhört, ist tatsächlich schnell getan. Gartenhaus streichen leicht gemacht – wir erklären dir, worauf du achten musst.
Warum du dein Gartenhaus streichen solltest
Du möchtest gerne mit deinem Gartenhaus einen farblichen Akzent im Garten setzen? Dann ist ein Anstrich deines Holzhauses in deiner präferierten Farbe genau das Richtige für dich! Neben der anschaulichen Optik bieten unsere Deckfarben aber in erster Linie einen Schutz gegen Wind & Wetter und hält dein Häuschen somit langfristig in einem guten Zustand. Dir gefällt der natürliche Look des Holzhauses besser? Dann empfehlen wir dir, dein Gartenhaus zu lasieren.
Gartenhaus streichen: Wir erklären dir wie’s geht!
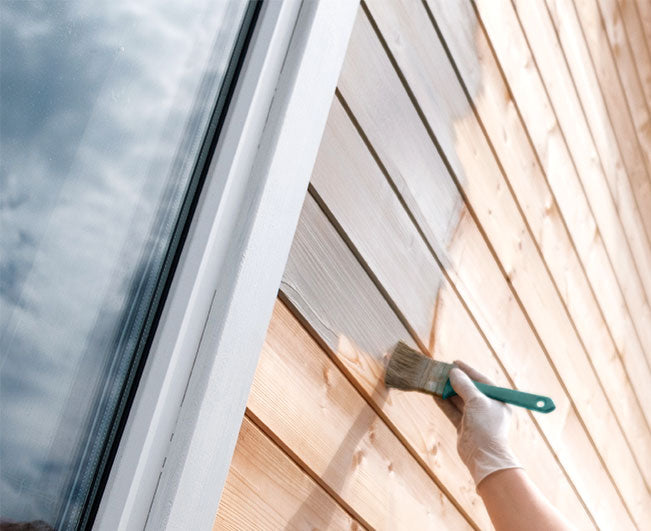
Für den Anstrich deines Gartenhauses benötigst du neben der gewünschten Farbe und der Grundierung einen einfachen Flachpinsel. Um unerwünschte Flecken und Streifen durch Farbe an Boden, Fenstern & Co. vorzubeugen, empfehlen wir, benachbarte Bauteile großzügig abzukleben bzw. mit Folien oder Malervlies abzudecken. Für eventuell notwendige Nachbesserungen solltest du einen Spachtel und eventuell auch ein Schleifgerät zur Hand haben. Für die Farbbehandlung sollte das Holz eben und frei von Schmutz sein.
Wähle außerdem einen regenfreien Tag mit Außentemperaturen von mindestens 10 Grad Celsius, um dein Gartenhaus zu streichen. Am geeignetsten sind die Frühlings- und Sommermonate.
Schritt 1: Planung für den Anstrich des Gartenhauses
Auch wenn der eigentliche Anstrich des Holzhauses schnell gemacht ist, bedarf es unter Umständen einige weitere Schritte, bevor das Gartenhaus letztendlich gestrichen werden kann. Schaue dir also am besten den Zustand der aktuellen Lasierung oder Farbe an, um genug Zeit für mögliche Aufbereitungsarbeiten wie Schmirgeln, Befreiung von Harz etc. einzuplanen.
Schritt 2: Reinigung und Aufbereitung
Steht das Gartenhaus schon etwas länger bei dir im Garten, hat sich bestimmt einiges an Dreck auf dem Holzhaus niedergesetzt. Losen Dreck kannst du ganz einfach mit einem Besen entfernen. Für hartnäckigeren Dreck wie Moos & Co. Kannst du zum Schrubben eine Bürste verwenden oder sogar den Hochdruckreiniger zur Hand nehmen. Auch Leinölseife kann für die Reinigung von witterungsbedingt verschmutztem Holz verwendet werden. Grundsätzlich ist es nicht zwingend notwendig, vor dem Gartenhaus streichen das Holz abzuschleifen. Schmutz und Staub müssen trotzdem gründlich entfernt werden. Risse und andere Schäden bleiben in diesem Fall weiterhin sichtbar. Solltest du feststellen, dass das Holz uneben ist oder die alte Lasur/Farbe abblättert, solltest du in jedem Fall bevor du das Gartenhaus streichen kannst, die alten Schichten mit einem Schleifgerät bzw. mit Schmirgelpapier (Körnung 80) abtragen. Denke daran, den dabei entstehenden Staub vor dem Anstrich wegzufegen.
Schritt 3: Nicht zu streichende Stellen abkleben
Klebe Rahmen, Fenster, Türverglasungen, Dachblende am Flachdach und Kleinteile, die nicht gestrichen werden sollen, gründlich mit Malerkrepp ab. Wenn möglich, kannst du Türen und Fenster demontieren, um dir die Arbeit zu erleichtern.
Vergiss in diesem Schritt auch nicht die Umgebung des Gartenhauses. Lege Abdeckfolie auf die umgebenden Flächen wie Rasen, Fliesen oder Steinpflaster, um diese vor Farbspritzern und Verfärbungen zu schützen.
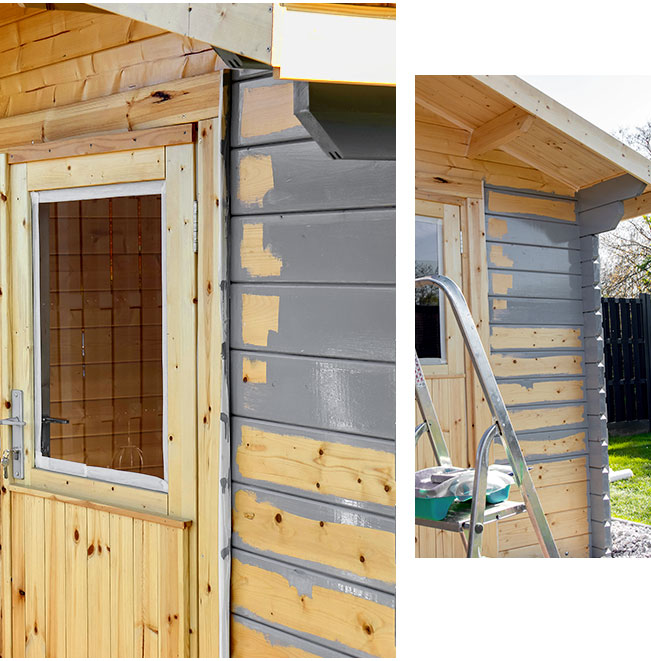
Schritt 4: Grundieren und imprägnieren
Nach der Reinigung und bevor du das Gartenhaus streichen kannst, muss zunächst das Holz imprägniert werden. Geeignet sind dafür Holzgrund, Holzschutz-Grund oder eine Imprägnierlasur. Die Imprägnierung schützt das unbehandelte Nadelholz von Fichten, Kiefern und Co. vor Pilzbefall und Aufquellen und bietet einen guten Haftgrund für den nachfolgenden Anstrich. Die Imprägnierschicht trägst du unverdünnt mit dem Pinsel auf das offene oder zuvor abgeschliffene Holz. Entdeckst du Kerben oder Löcher im Weichholz, kannst du diese mit einem Spachtel bearbeiten. Du möchtest dein Gartenhaus bunt streichen? Trage bei hellen Pastellfarben oder Weiß noch zwei weitere Schichten Imprägnierung auf. Ohne diesen ausreichenden Isoliergrund besteht die Gefahr, dass Harz austritt und die hellen Lackschichten vergilben. Nach etwa 24 Stunden Trocknungszeit kannst du nun das vorgestrichene Gartenhaus mit Farbe versehen.
Schritt 5: Das Gartenhaus streichen
Zum Gartenhaus streichen verwendest du am besten unsere Deckfarbe unverdünnt und streichst insgesamt zwei Mal. Achte bei deiner Streichtechnik darauf, dass du mit dem Pinsel immer in Richtung der Holzmaserung streichst. Für größere Flächen kannst du alternativ auch eine Schaumstoffrolle zum Gartenhaus streichen verwenden. Nachdem der erste Anstrich je nach Temperatur und Wetter nach etwa 4 Stunden getrocknet ist, kannst du den Schlussanstrich vornehmen. Um ein optimales Ergebnis zu erzielen, muss das bemalte Holz für ca. 4 Stunden vor Regen geschützt werden.
Dein Gartenhaus ist ganz neu? Dann solltest du das Gartenhaus streichen, solange es noch nicht aufgebaut ist. So kannst du die Holzbretter bis in die kleinste Ecke behandeln und somit umfassend vor Feuchtigkeit & Co. Schützen.
Tipp:
Wie das Gartenhaus kannst du auch Holz- und Dachverkleidungen, einen Carport oder die Pergola streichen. Für das Streichen von Böden oder Gartenmöbeln aus Holz sind unsere Deckfarben aber nicht geeignet. Nutze hierfür unsereTerrassen- und Gartenmöbellasur.
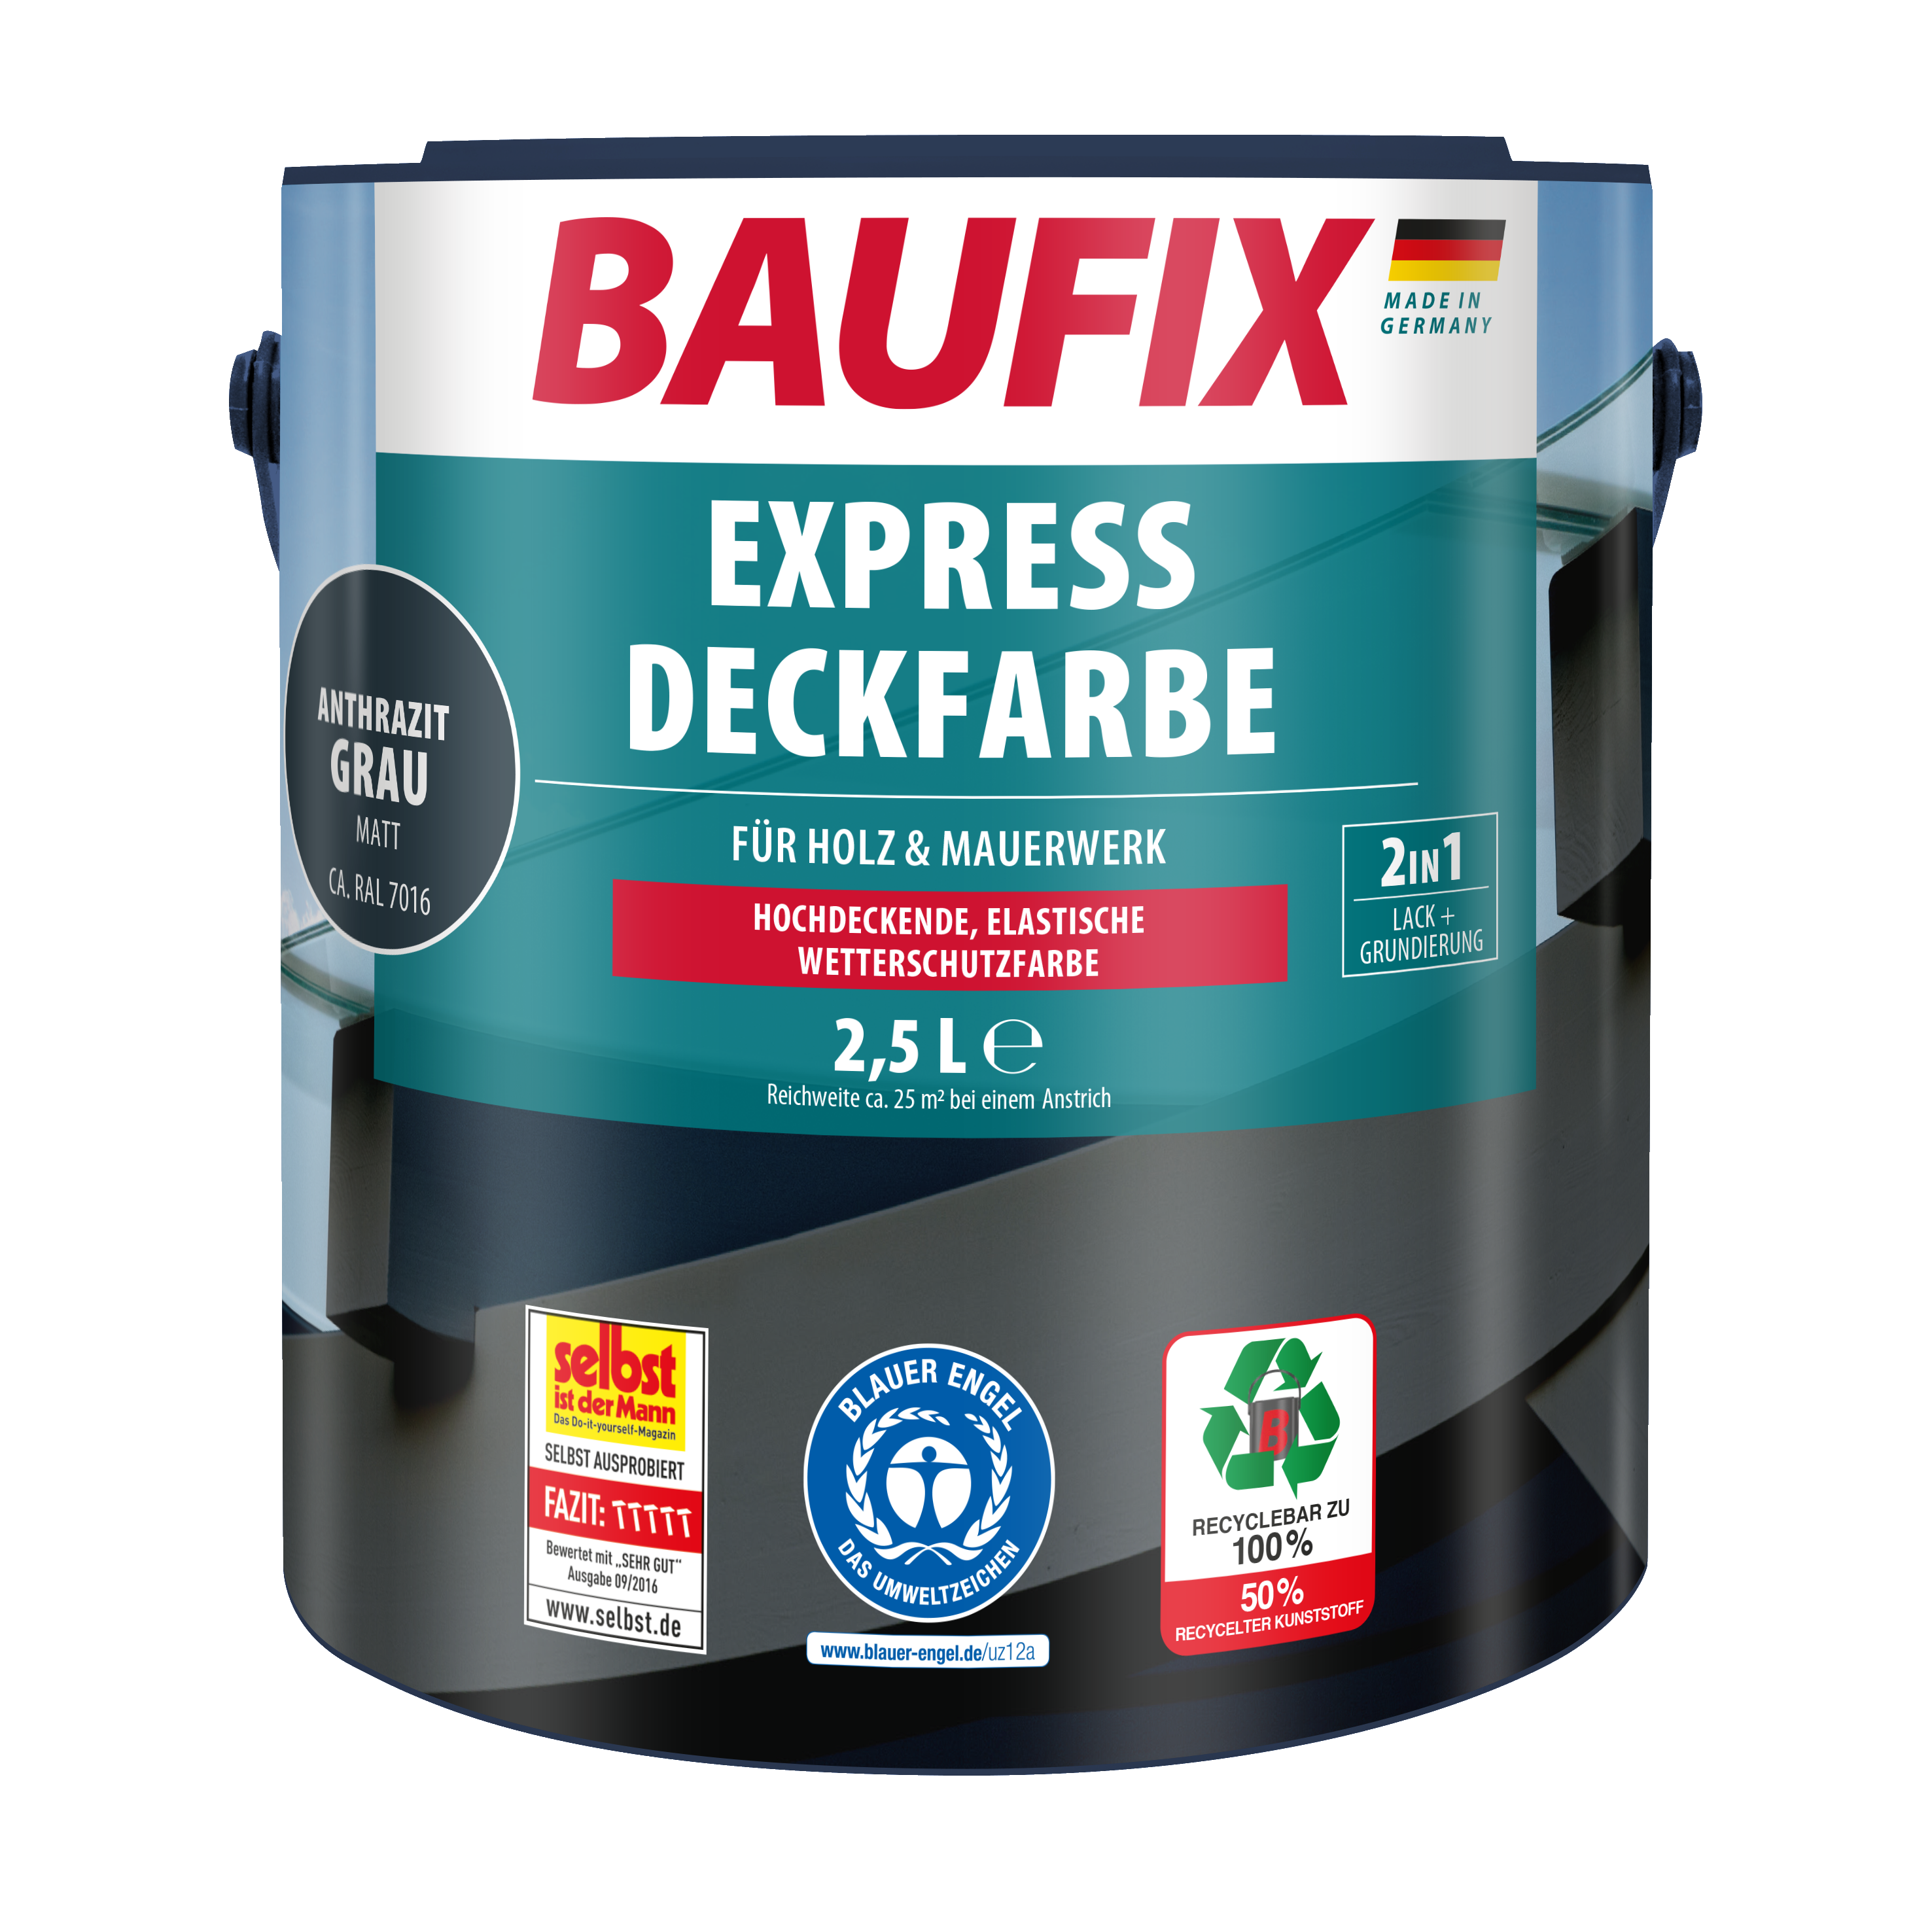
Unsere Gartenhaus Deckfarbe: BAUFIX Express Deckfarbe
- schnellere Trocknung, dadurch zwei Anstriche pro Tag möglich
- deutlich höhere Langlebigkeit
- erhöhte Witterungsbeständigkeit
- für außen und innen
- für Holz, Putz, Mauerwerk usw.
Wie oft sollte ich das Gartenhaus streichen?
Nach dem Gartenhaus streichen hast du vermutlich erstmal genug davon. Glücklicherweise ist ein Anstrich auch gar nicht allzu häufig von Nöten. Je nach Sonne, Regen, Wind und anderen Einflüssen hält sich die Farbe mit ihrer Schutzfunktion um die 2 Jahre. Solltest du feststellen, dass die Farbe abbröckelt, solltest du nicht einfach nur überstreichen, sondern alles komplett abschleifen und erneut mit der Grundierung beginnen.
Gartenhaus streichen: Wann ist der beste Zeitpunkt dafür?
Da sowohl Grundierung als auch Farbe ihre Zeit zum Trocknen benötigen, sollte die Temperatur nicht unter 10 Grad Celsius liegen und die Luftfeuchtigkeit nicht zu hoch sein. Idealerweise ist es mit bis maximal 25 Grad Celsius etwas wärmer, bewölkt, um direkte Sonneneinstrahlung zu verhindern, aber trocken. Die beste Zeit zum Gartenhaus streichen sind daher die Frühlings- oder Sommermonate. Bei niedrigerer Temperatur und hoher Luftfeuchtigkeit verlängert sich Trocknungszeit.
Gartenhaus streichen: Welche Farbe?
Unsere Deckfarben schützen dein Holz vor Feuchtigkeit und blättern nicht. Die Wetterschutzfarben sorgen dafür, dass Witterung und Sonneneinstrahlung dem Holz nichts anhaben können. Unsere BAUFIX Express-Deckfarbe gibt es in verschiedenen attraktiven Farbtönen und verleiht deinem Gartenhaus langanhaltenden Schutz bei besonders einfacher Verarbeitung.
Die Wahl der Farbe für dein Gartenhaus hängt von mehreren Faktoren ab. Berücksichtige den Architekturstil deines Wohnhauses und Gartenhauses, um eine Farbe zu wählen, die diesen Stil ergänzt. Natürliche Holzfarben passen gut in grüne, bewaldete Umgebungen, während kräftige Primärfarben auf großen Grünflächen auffallen. In blühenden Gärten harmonieren Farbtöne, die sich in die Pflanzenwelt einfügen.
Soll ich mein Gartenhaus lasieren oder lackieren?
Die Entscheidung, ob du dein Gartenhäuschen lasieren oder lackieren solltest, hängt von deinen Bedürfnissen und ästhetischen Vorlieben ab. Holzlasuren erhalten die natürliche Optik des Holzes, indem sie die Struktur und Maserung sichtbar lassen. Bei Lärchen- und Teakholz ist das Auftragen von Holz-Öl beliebt. Lasuren dringen in das Holz ein, lassen es atmen und regulieren die Feuchtigkeit, was das Risiko von Rissen und Verwerfungen verringert. Sie bieten Schutz für etwa zwei bis drei Jahre und sorgen, je nach Farbton, für einen guten UV-Schutz.
Schutzlacke bieten eine deckende, gleichmäßige Farbschicht, die das Holz vollständig bedeckt und farbliche Akzente setzt. Holzlacke bilden eine wasserabweisende und elastische Schutzschicht, die etwa vier bis fünf Jahre hält. Das farbbehandelte Holz wird in dieser Zeit effektiv vor Witterungseinflüssen geschützt. Diese Methode ist besonders geeignet, wenn du eine robuste, langlebige Beschichtung bevorzugst.